The hardest part about scratchbuilding is that there are no instructions. Usually that simply means I’m on my own to solve every problem – territory so familiar, I don’t know I could actually follow someone else’s planned sequence of steps. This time, the piece of instructions I am missing is the map of the etch with all the little pieces labelled.
There were four little levers in the middle of the cab floor, and they have been safely zipped into a small baggie for a year. This weekend, I finally shook them out of their plastic prison, and then spent an hour trying to remember which was which. They are all subtly different: holes in one end, or two, bends, no bends. I ultimately had to go back to OnShape and find the parts to figure it out.
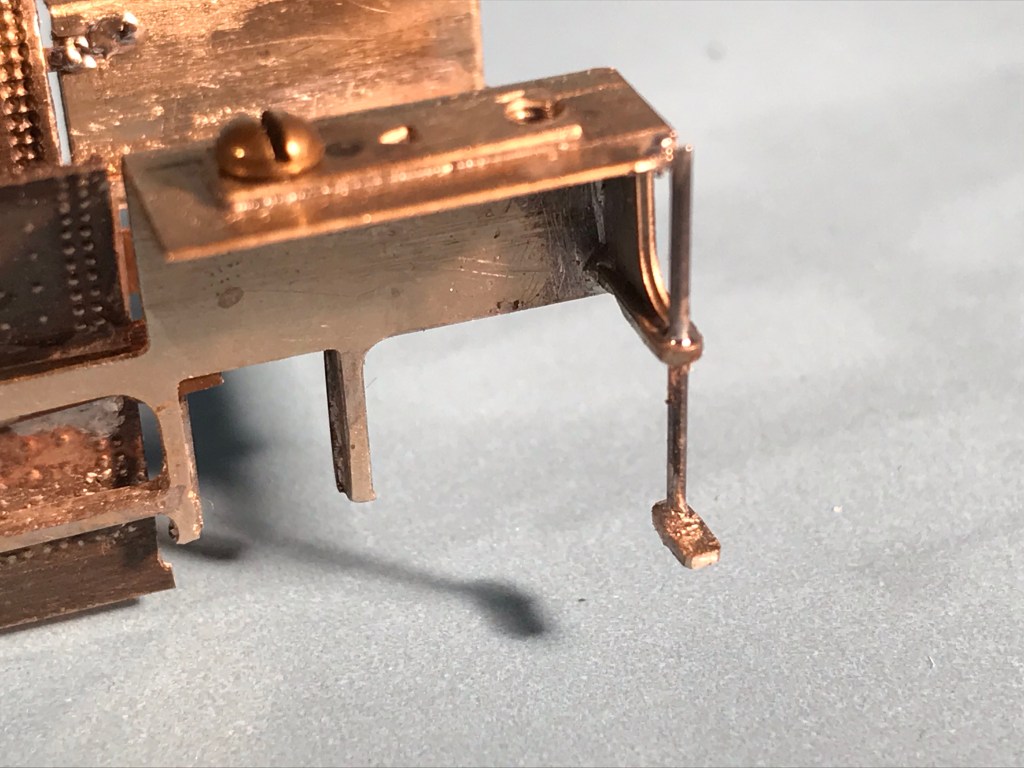
Finally, I found the reversing lever, and slotted it into the forked joint in the associated reach arm. I soldered the end of the reach arm into the little recess in the cab wheel cover I had so thoughtfully left for myself back in 2018. It all worked perfectly, although getting the pin through the joint was a bit of a tussle, which the parts ultimately took to our phosphor-bronze coloured floor in an effort to evade being locked together for eternity.

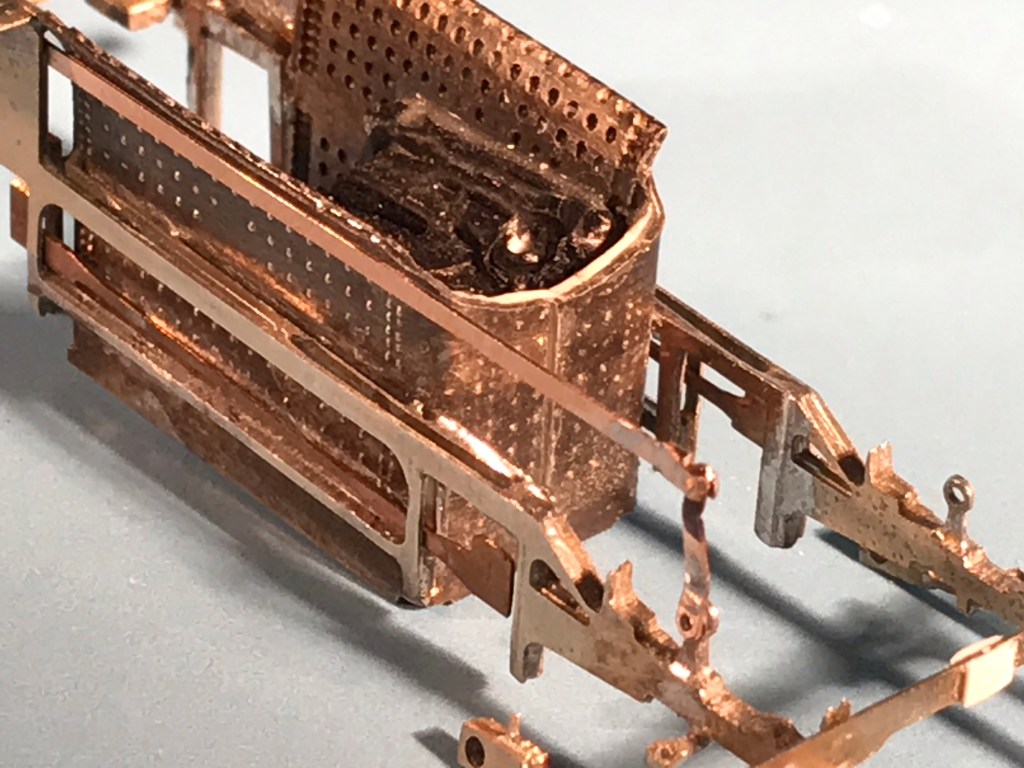
I made the cab steps, which are visible only as ill-defined shadows in all my photos, from spare parts from one of the etched cross heads. They are soldered to .025” music wire so they should bite back if you accidentally brush against them. The holes for these in the top of the house brackets never materialized, and so, I had to file notches to seat them.