Awaiting a custom set of N-scale Grand Trunk decals from Black Cat, I have had to put Percy aside for a week or so. Meanwhile, I’ve been honing the approach to installing turnout controls.
These controls had to satisfy the following design criteria.
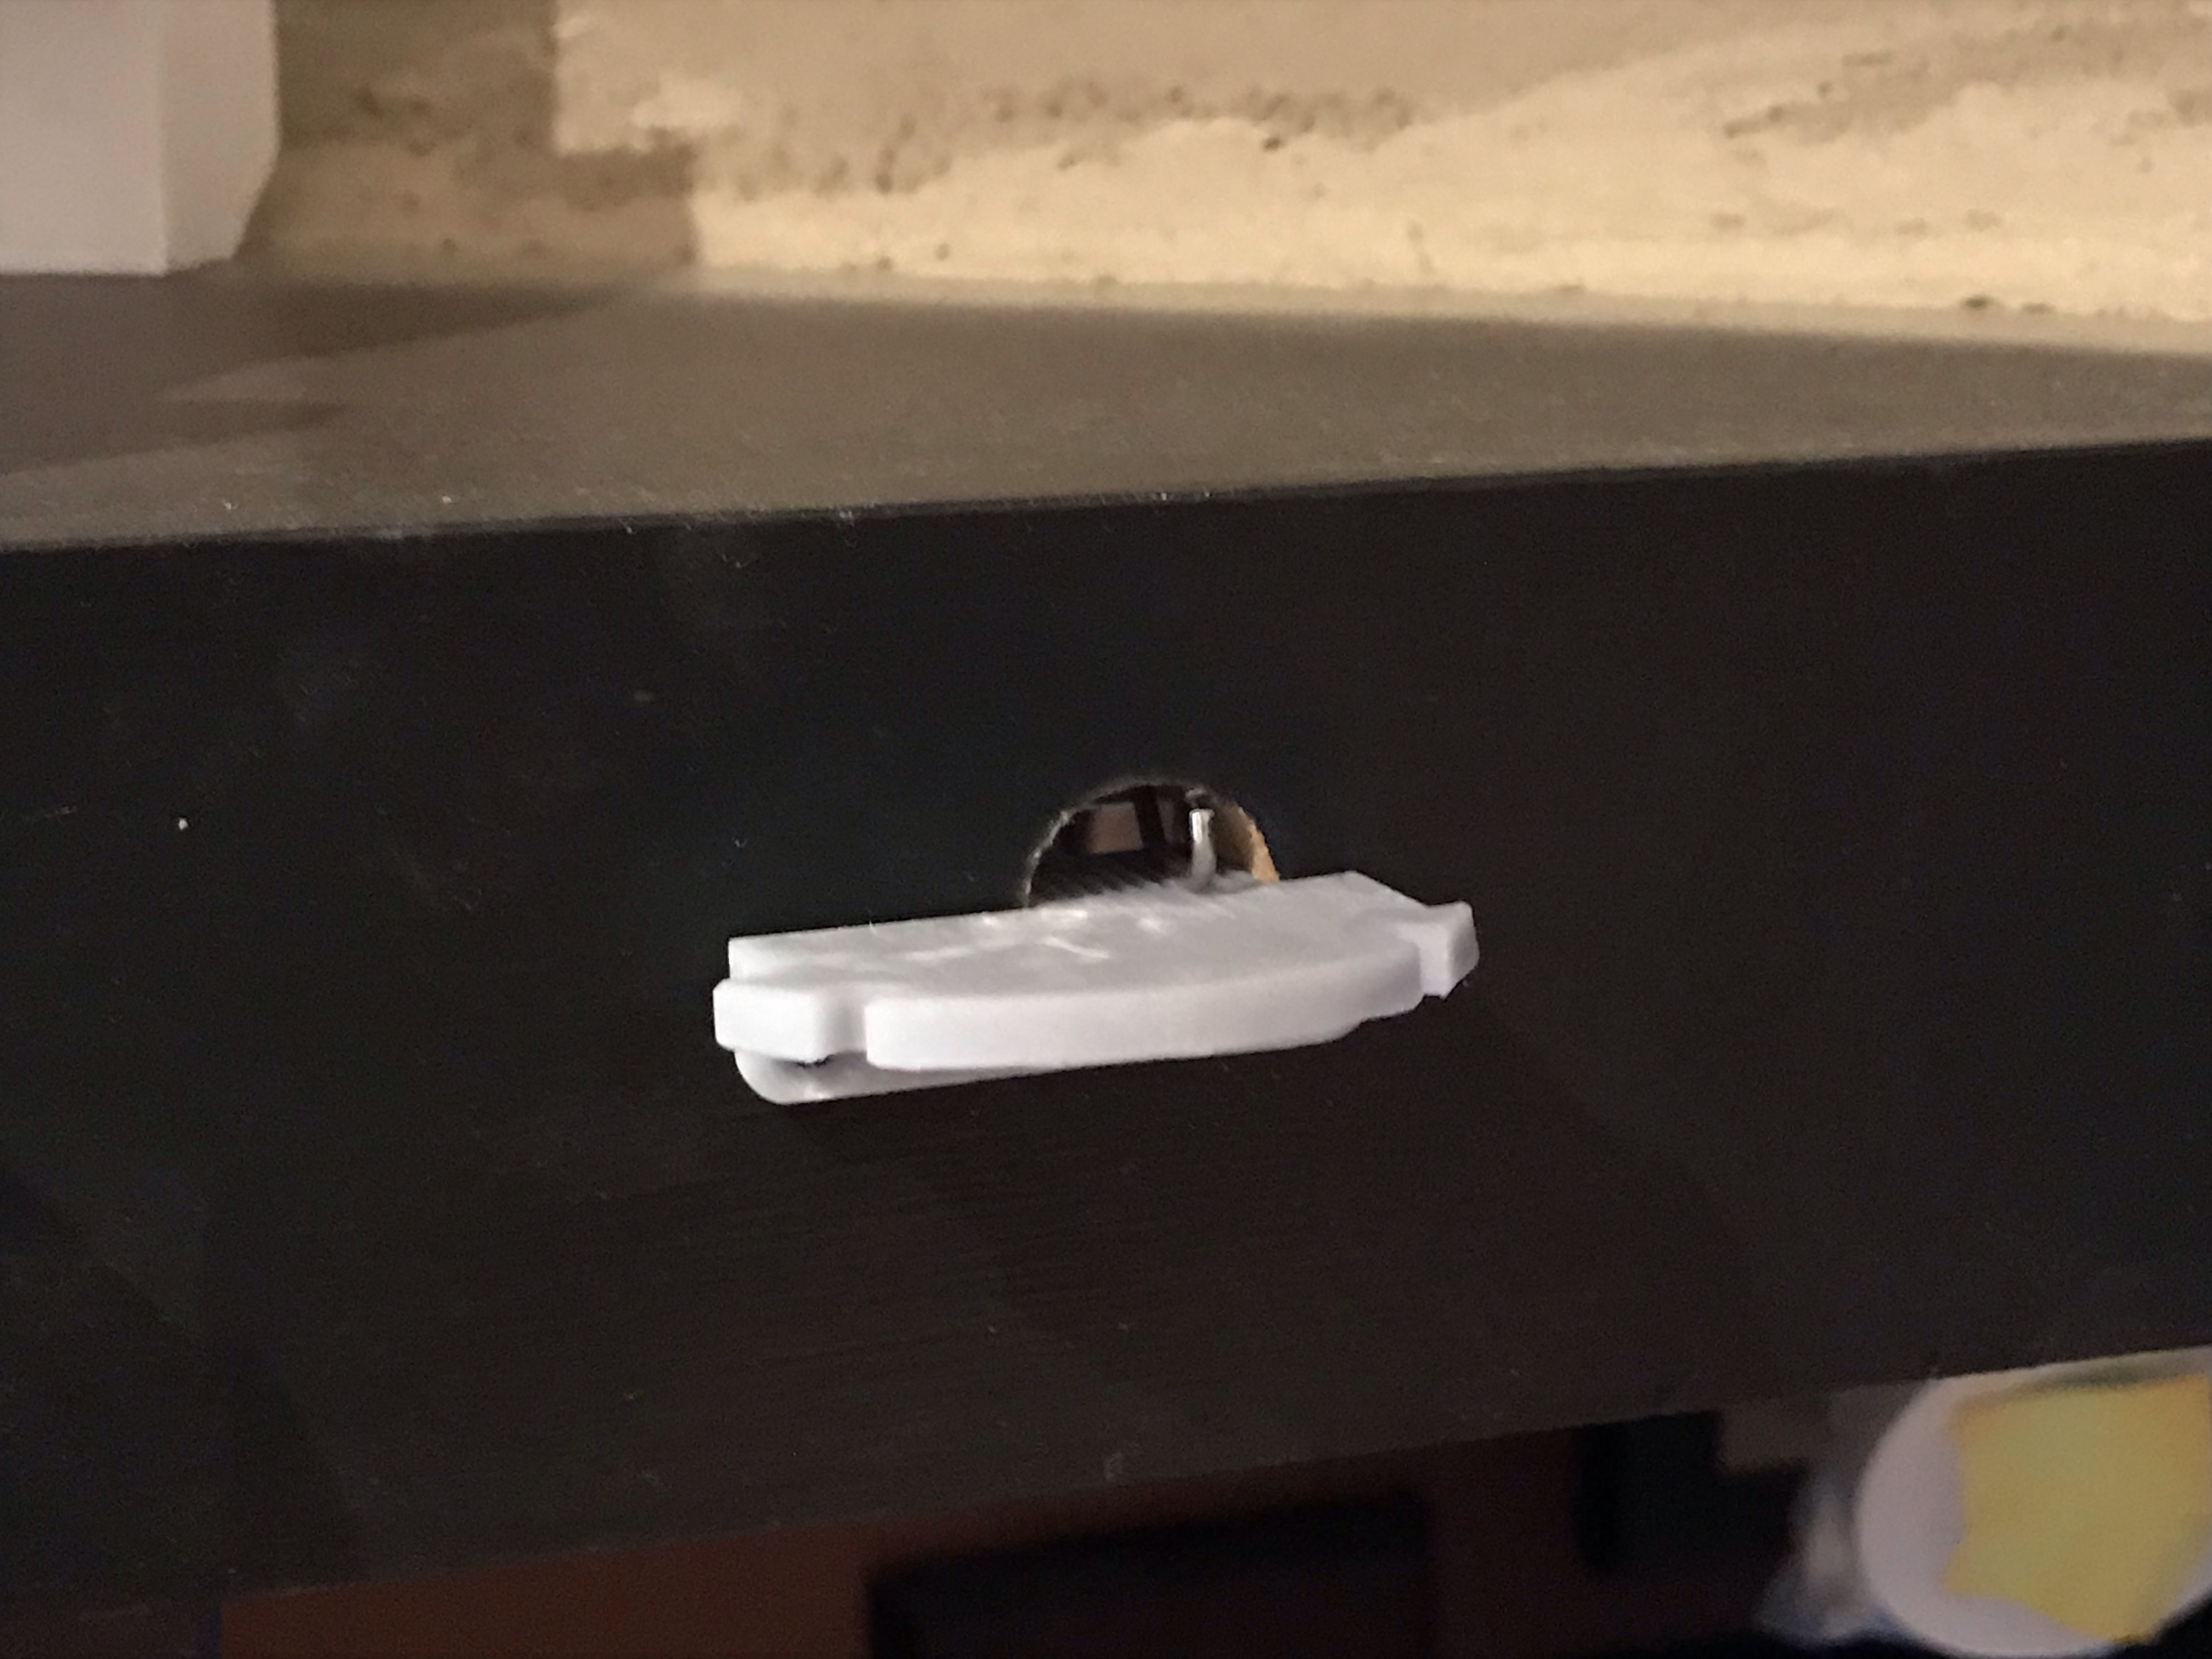
They need to behave like a real switch stand. I want to lift a lever, rotate it and lock it into place.
The controls have to be manual because it’s 1905; I’ve softened on this for future controls, but the Bullfrogs were already in place.
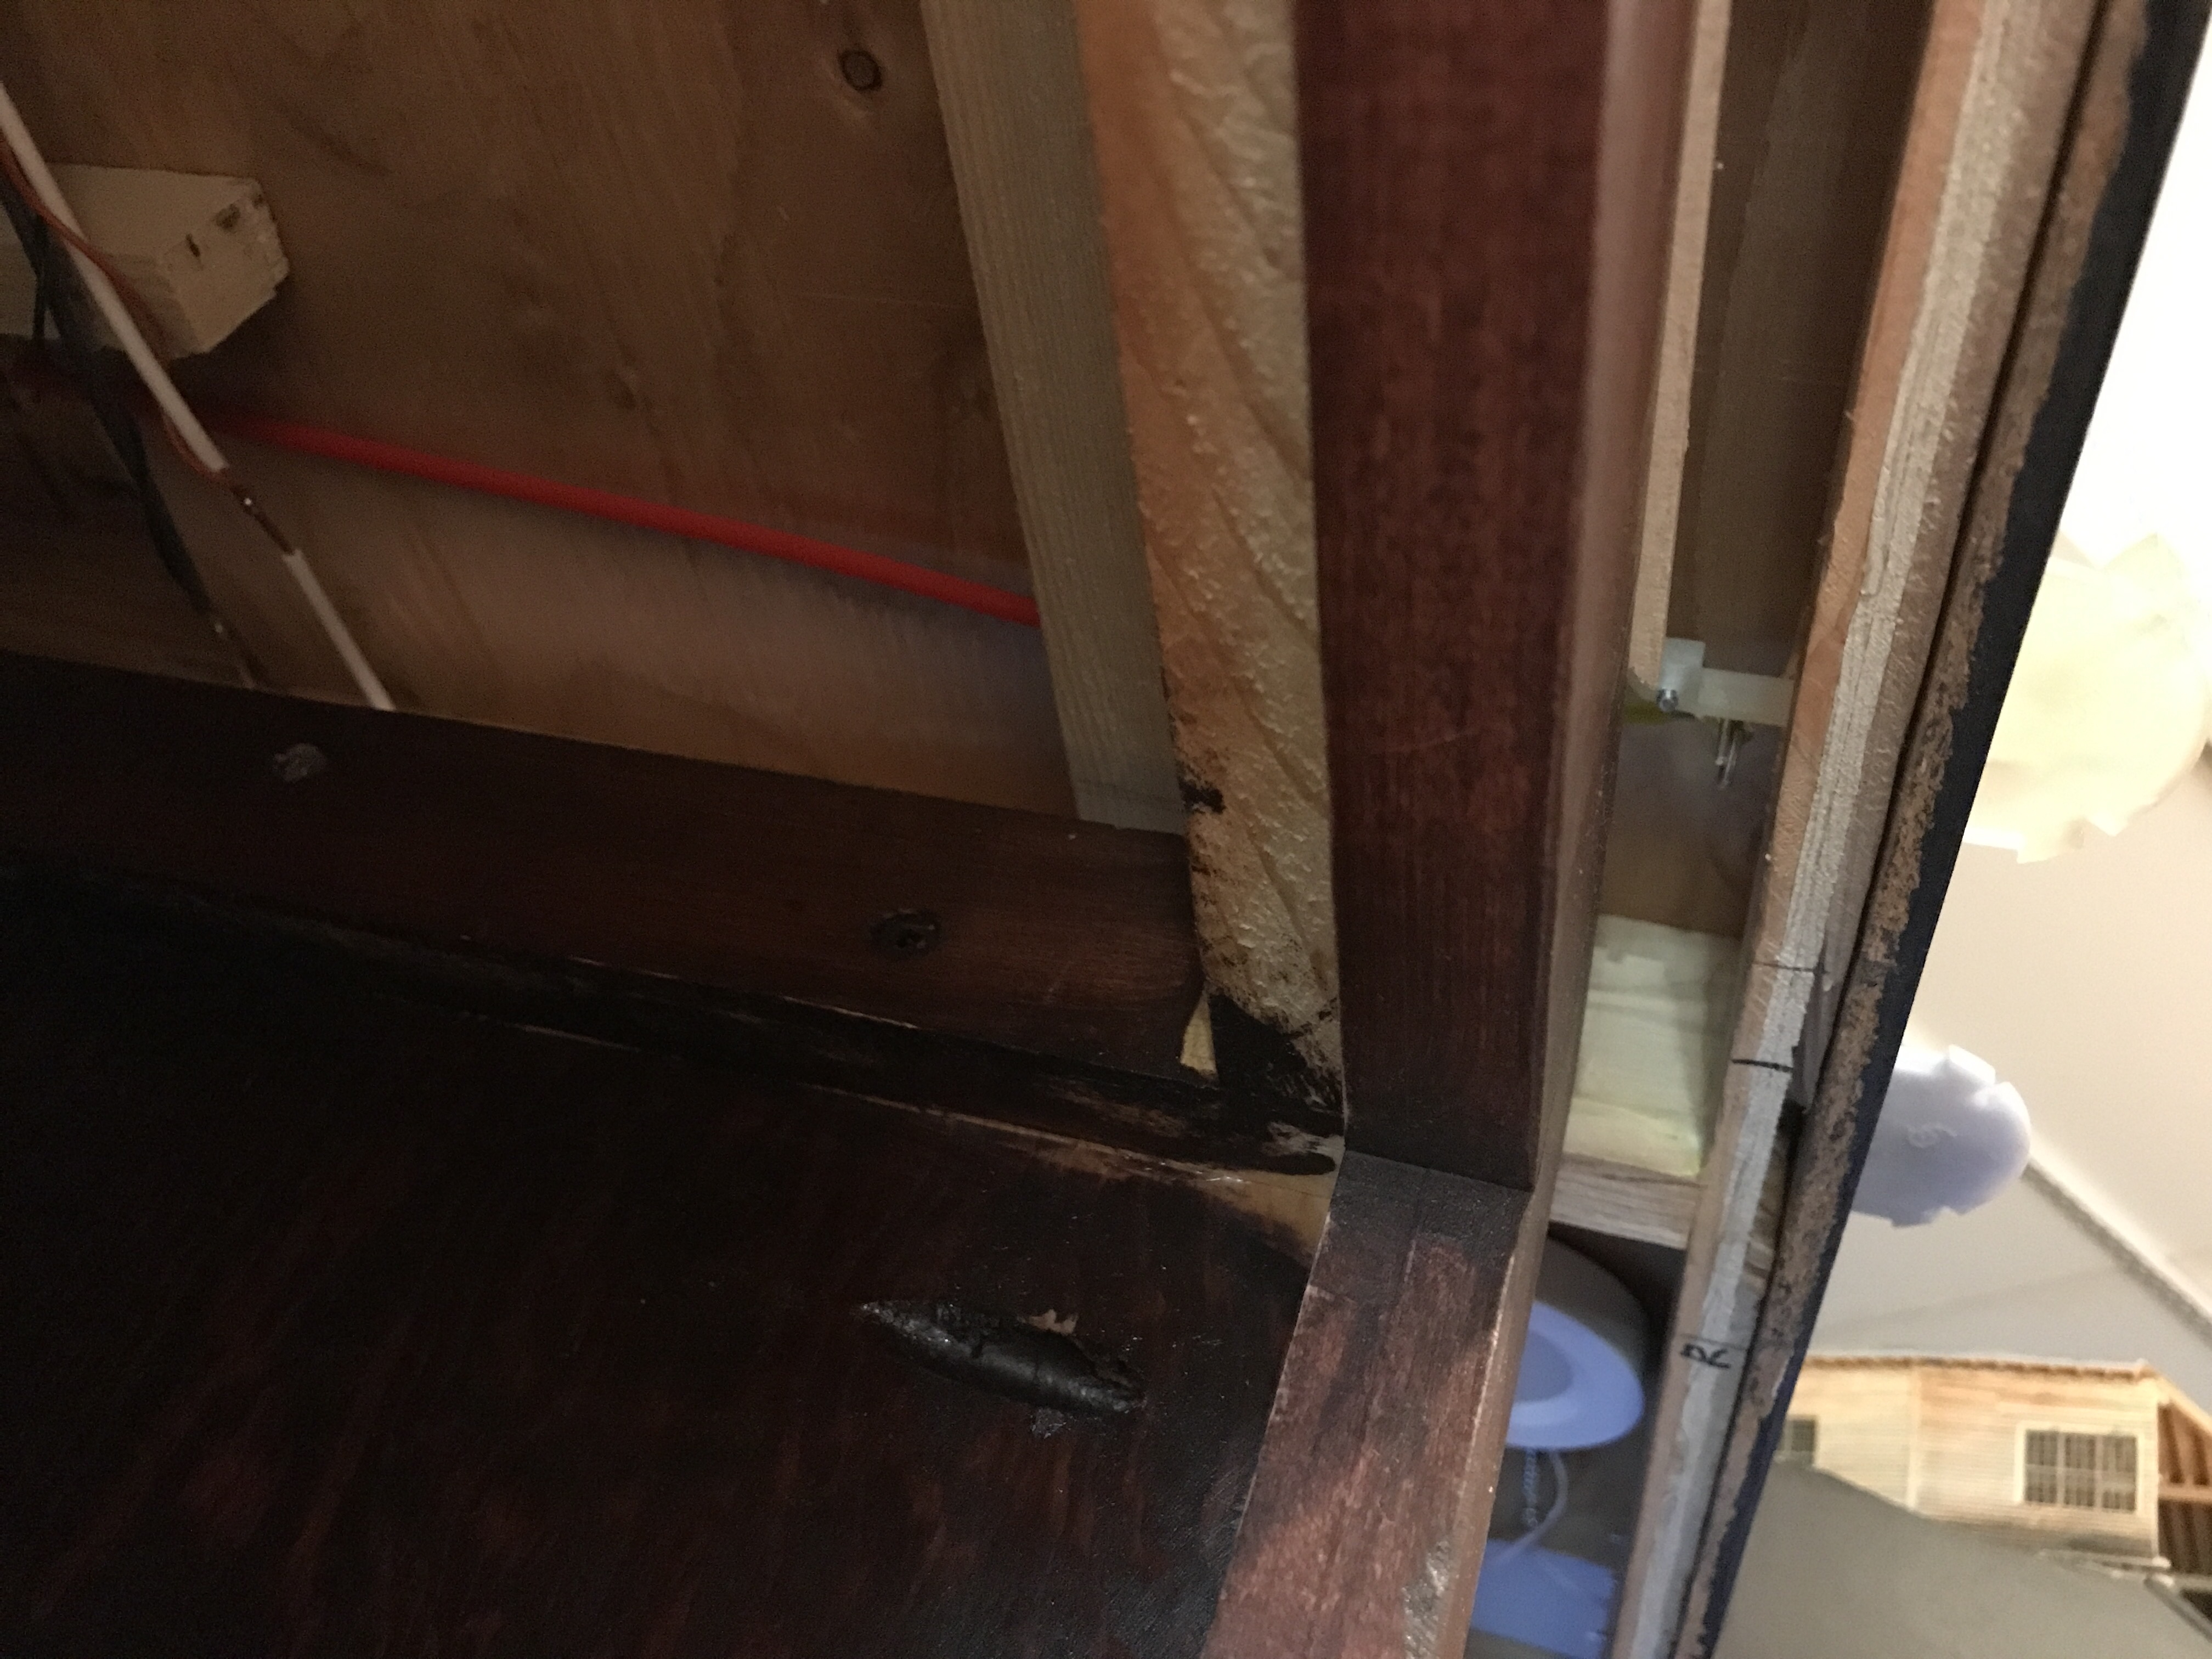
The controls had to be mostly installed from the front because the back of the fascia is almost inaccessible in some places.
Three of the six controls are above the shelves. I can barely get my fingers in there!
Now I’ve been pecking away at this project for years, but the proof of concept earlier this year yielded a result I’m happy with. So, with the Railway Modellers’ Meet bearing down on me, I made a start.
After installing 6, I think I’ve got it down almost to a science. I’m not expecting anyone to replicate these controls, except perhaps me, and so, I’m writing down the steps for future me.
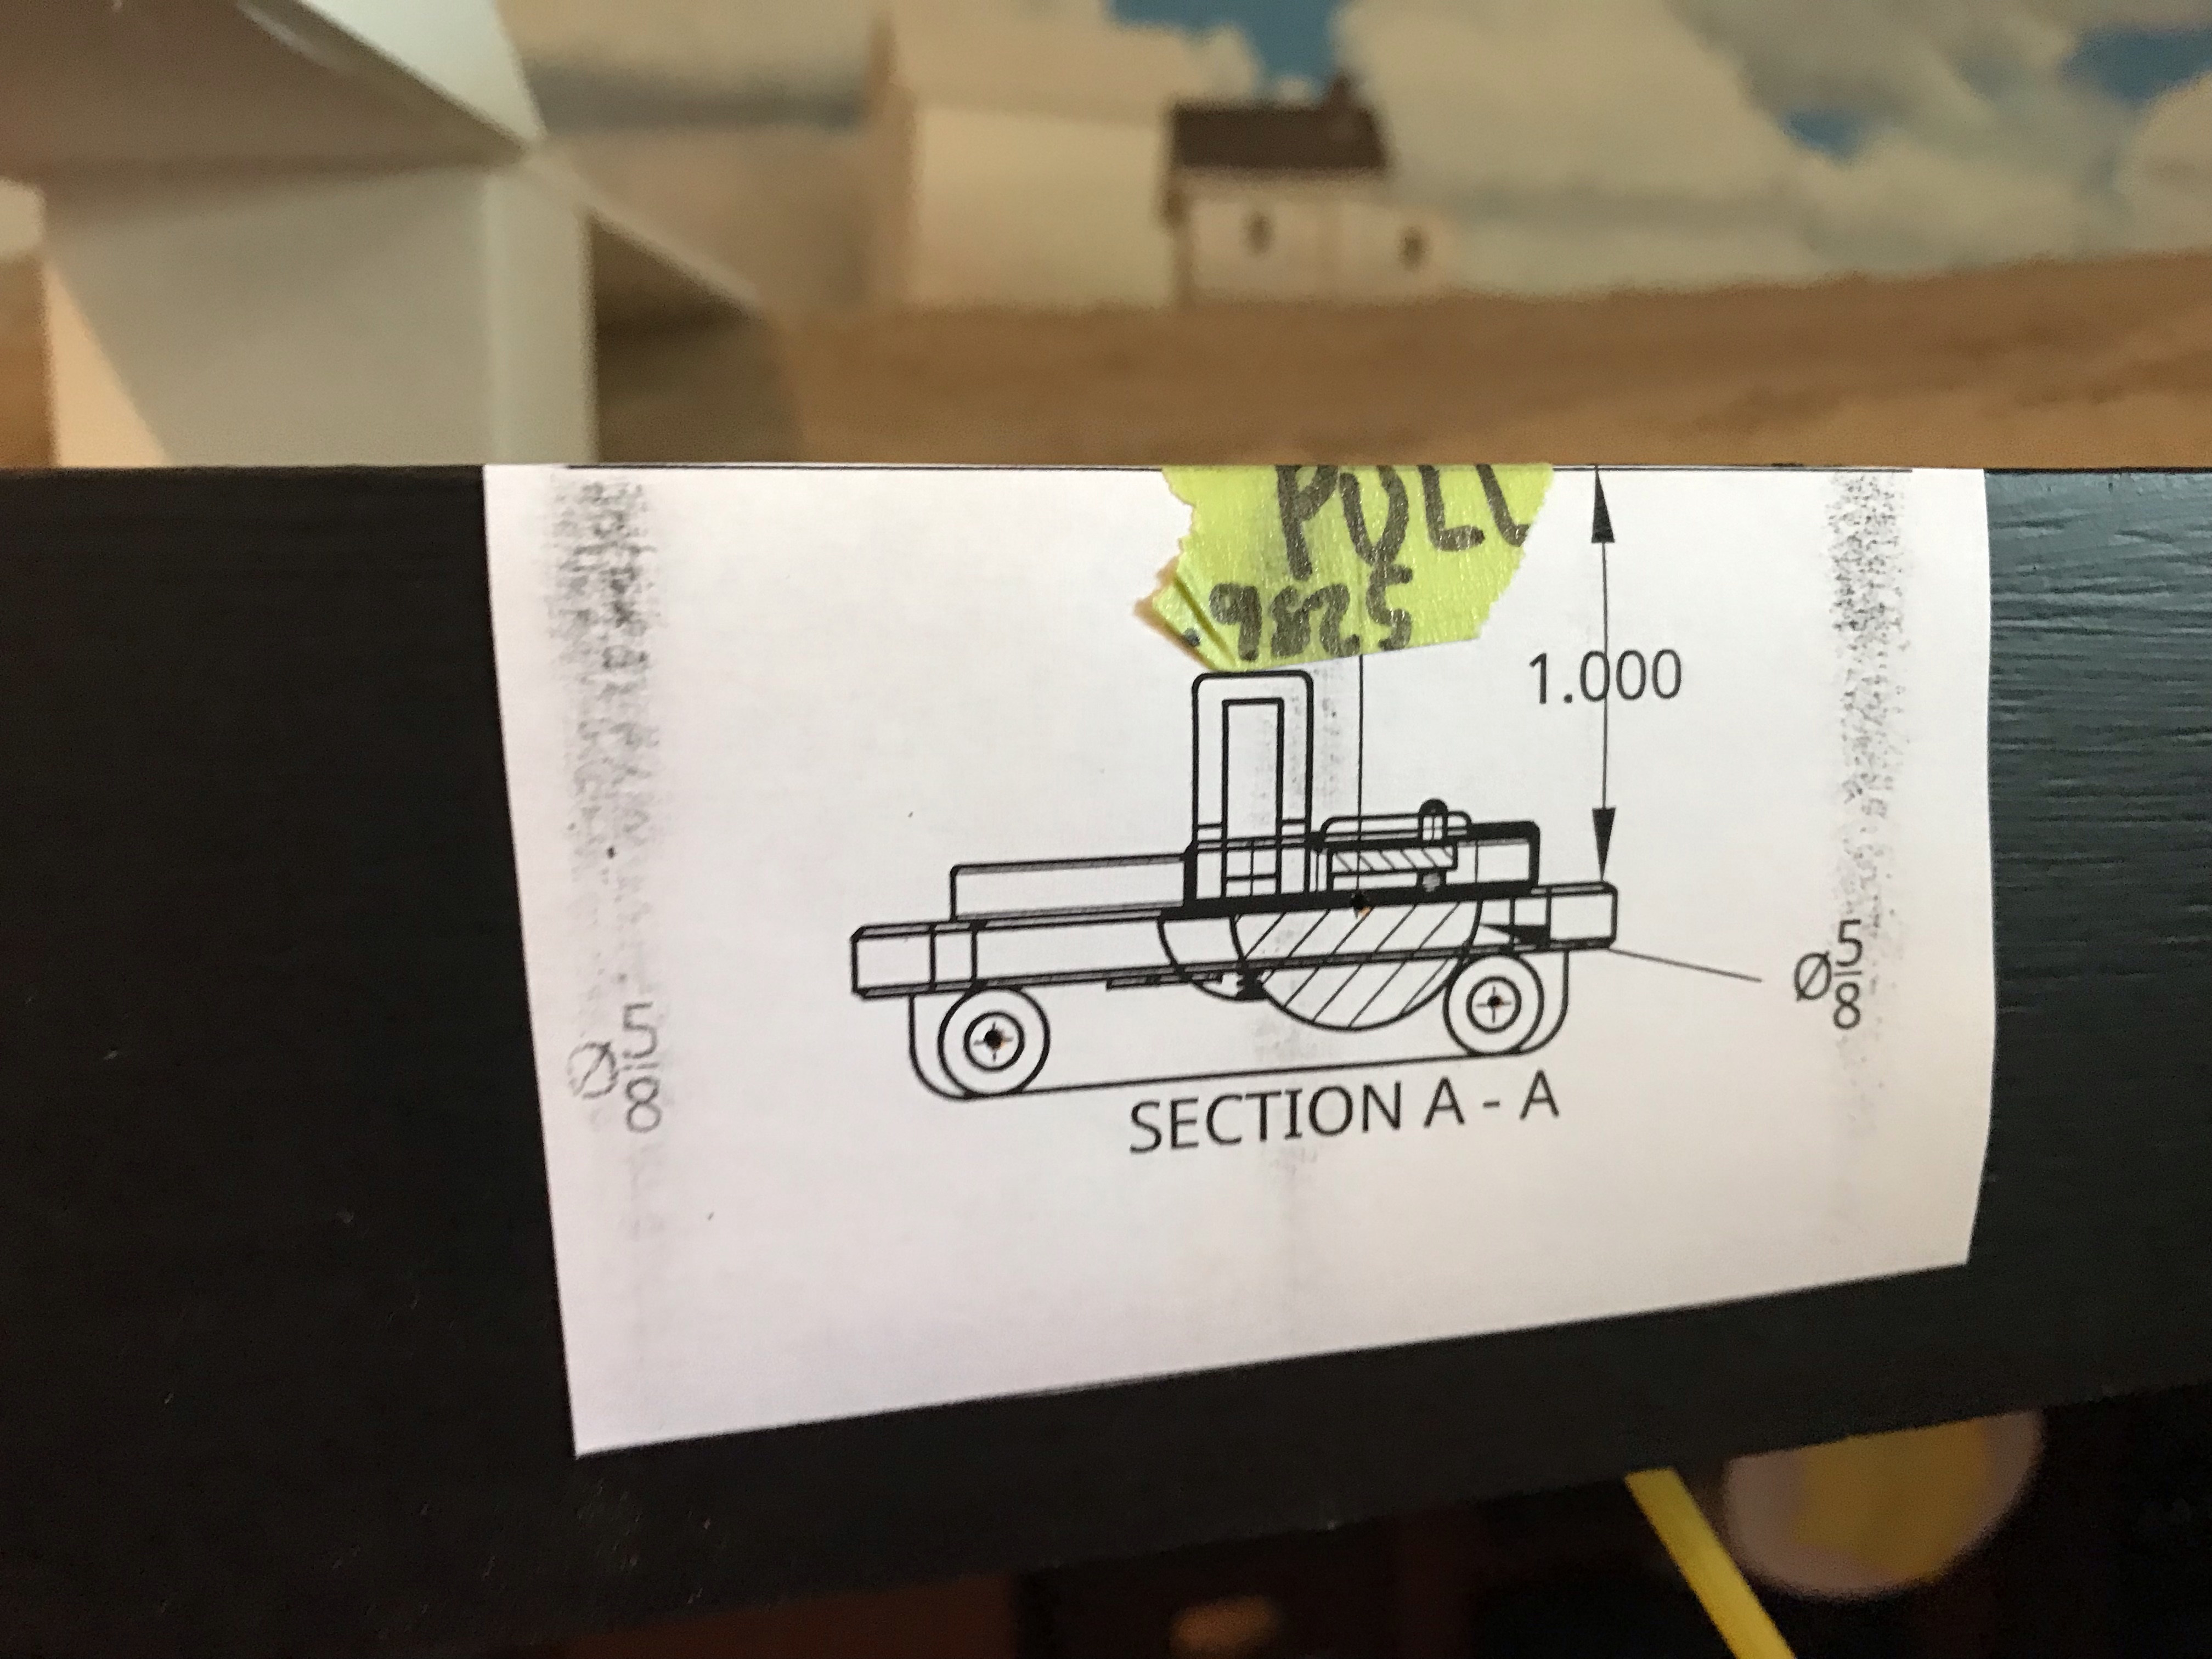
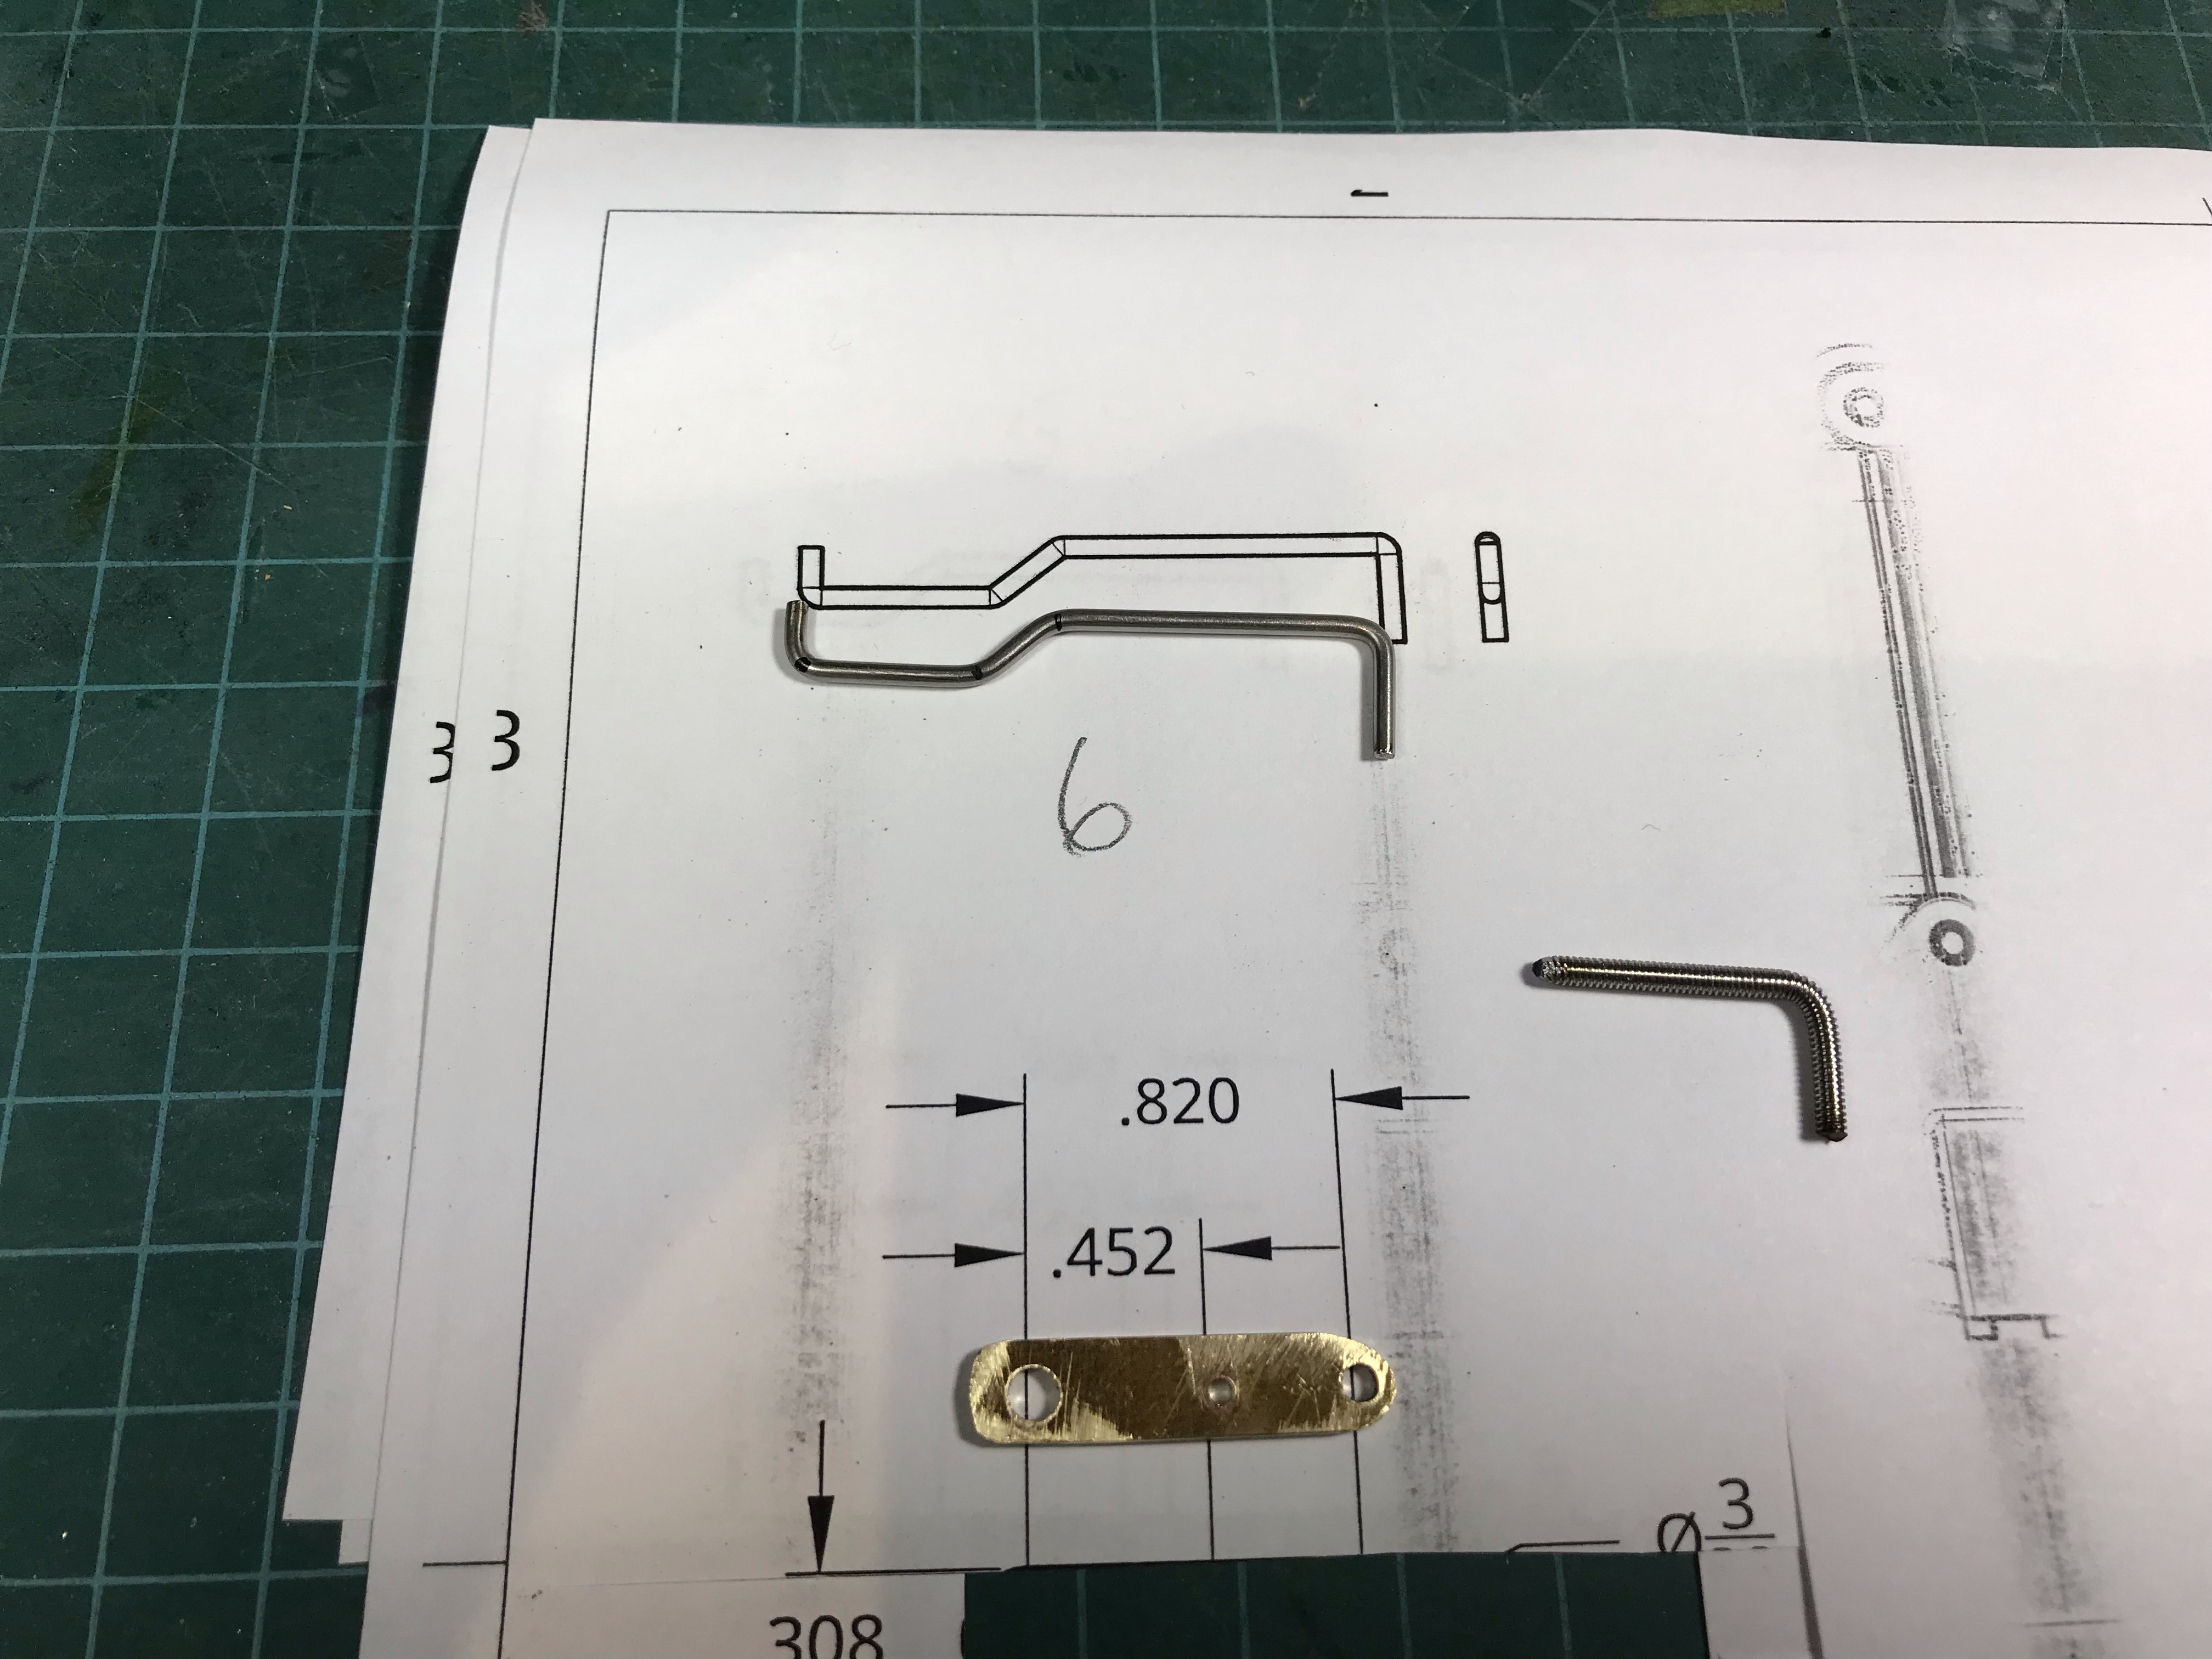
Use the template to locate holes for the control. The centre of the big hole should be about .44 inches offset from the end of the control rod.Drill the big hole to 1/4″ and thread the control rod through it. Push it in all the way, and cut it flush with the fascia. Then measure how much it moves.Update OnShape with the distance of the throw (usually around 1″), and print templates to make the rear arm and the extension rod.The castings come off the printer with 4-40 holes threaded, but they need cleaning out with a fluted bolt or a tapTest fit all the parts to confirm the action looks good.Remove the front arm and thread the quadrant through the hole, then adjust the rear arm to 90 degreesMove the control rod to mid travel, then cut it off about even with the end of the casting. Screw the 2-56 threaded rod into its end until it matches the rear arm. Then thread it into the remaining hole in the arm.Install the front arm and confirm everything works before screwing the control to the front of the fascia.


One thought on “Installing Turnout Controls”