I designed the boiler weight undersized to allow for the tolerance of Shapeways stainless steel printing. As with my own girth, I figured it would be easier to shim than to trim the weight. However, even with the additional tolerance, while the barrel allows for slightly more than a .020″ styrene wrapper, the wagon top course barely admits .010″. In other words, 622’s boiler demonstrates the same shrinking-belt effect as my jeans, proving that 32″ waists really have been getting smaller over the years!
I glued .010″ styrene shims to the top, bottom and sides of the barrel, and to one side of the wagon top. As well as fixing the diameter, these enabled me to accommodate the slight out-of-round aspect of the weight, as well as a tiny amount of off-centre. I sanded them all back until the diameters were exactly on the designed values.
I clamped the barrel in place with some twisted wire, and dolloped a few drops of plastic cement onto the joints with the shims. For the wagon top, I used plastic cement on the side with the centering shim (about .006″), and once that had hardened, I hand-held the other side while CA set on that join.
When I removed the clamps, I found that the plastic cement had softened the wrappers in a couple of places, making slight waves, which I filled with putty and sanded. The result is that these two cylindrical sections match their 3D-printed stack, domes and smokebox front astonishingly well.
The tapered course that transitions from one diameter to the other was an egregious hack. Because one end had to be .010″ to match the wagon top wrapper, I decided to go with .010″ styrene. The barrel end of the taper needed shimming to match the .020″ barrel wrapper, and the belly of the course needed a full section of .010″ sheet. Once these shims were in place, I fashioned a paper template by trial and error. I cut the course itself and curled it into a rough cone the same way I shaped the other sections. Before cementing the wrapper in place, I dropped a couple of spots of putty on the top of the weight to fill the void.
One of these was a costly error, and if faced with the same choice again, I will start with thicker plastic and taper it, rather than shimming thin styrene. The putty attacked the thin plastic, and by the time I had filled and filed all the resulting ripples, the plastic had disappeared in places. I may be in for a mulligan if it looks bad with primer.

The boiler pieces. Note the shims on the barrel part of the weight. 
Pretty happy I remembered to put the headlight wires into their channel! 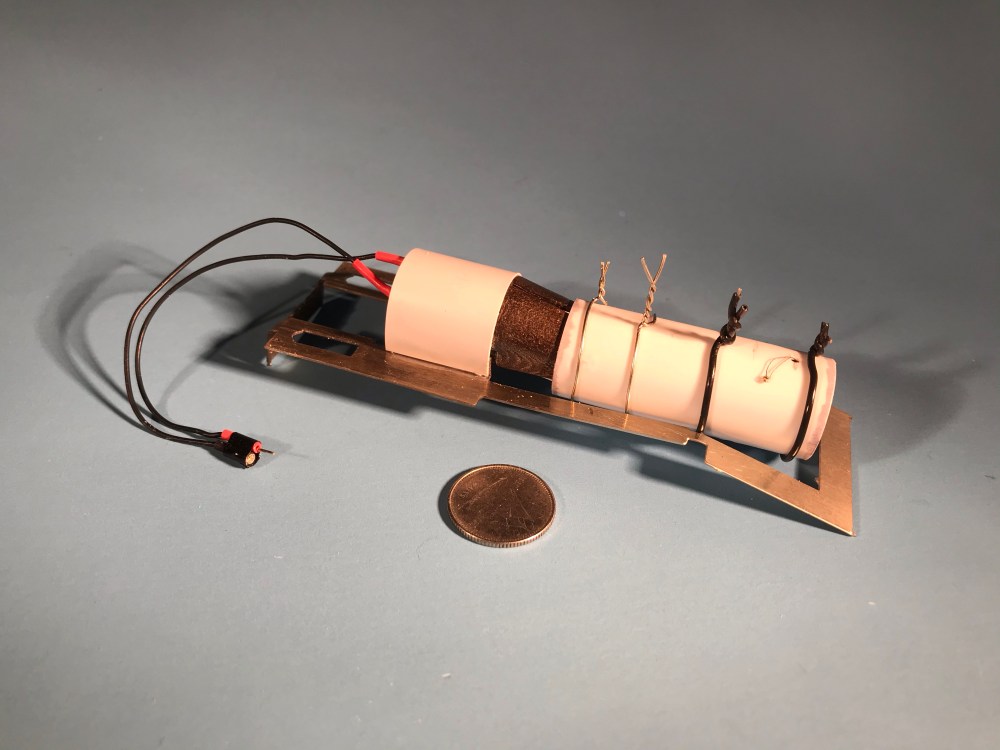
Wire clamps holding the barrel together while cement sets. 
Test fitting the domes and stack to the finished boiler.

Are you going to use solvent for attaching the smokebox and banding?
AH
622 and 621 had sheathed smokeboxes. So no need for more to be added there. I’m not sure what I will do for bands. On #10, I used tape; I think I had planned to paint them on (that being about the right thickness), but chickened out at the last moment.