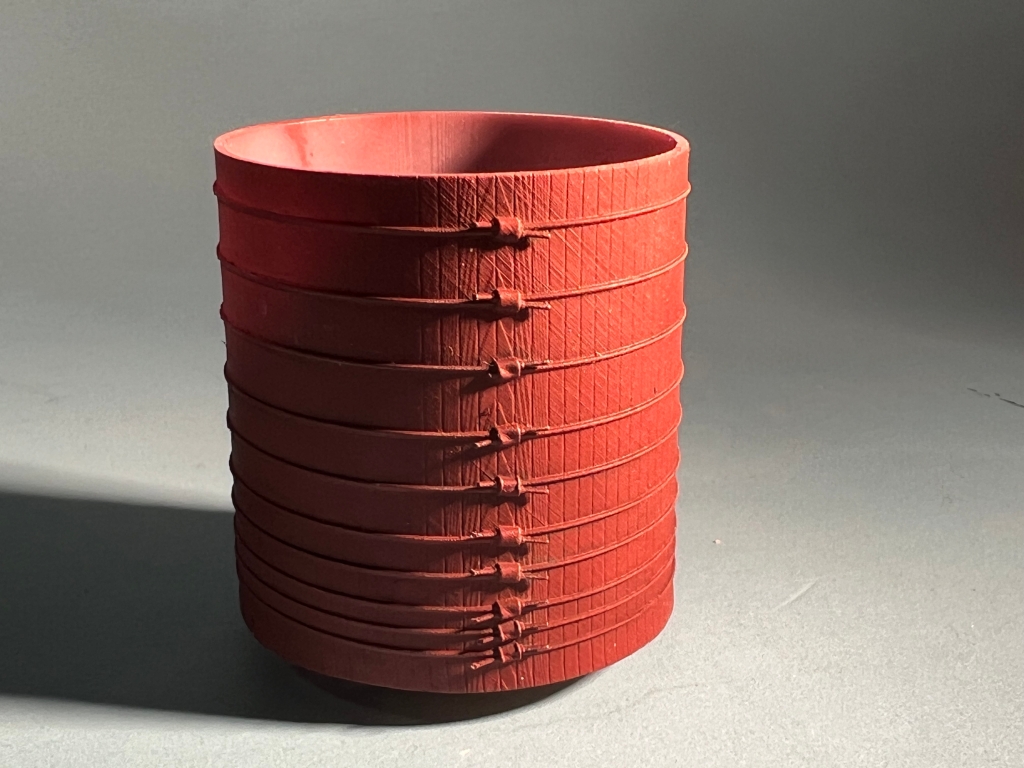
Now we get to the meat of the matter: the tank is usually considered the hardest part about building a water tower. In my case, the hard work was mostly done in OnShape. The prototype tank in Wakefield has two different types of band connectors, and they are in different orientations. I copied these differences slavishly in my version, and as a result I had to draw each band individually. There are 160 features (think commands) in the tank drawing, compared with 11 in the base and eight in the roof.
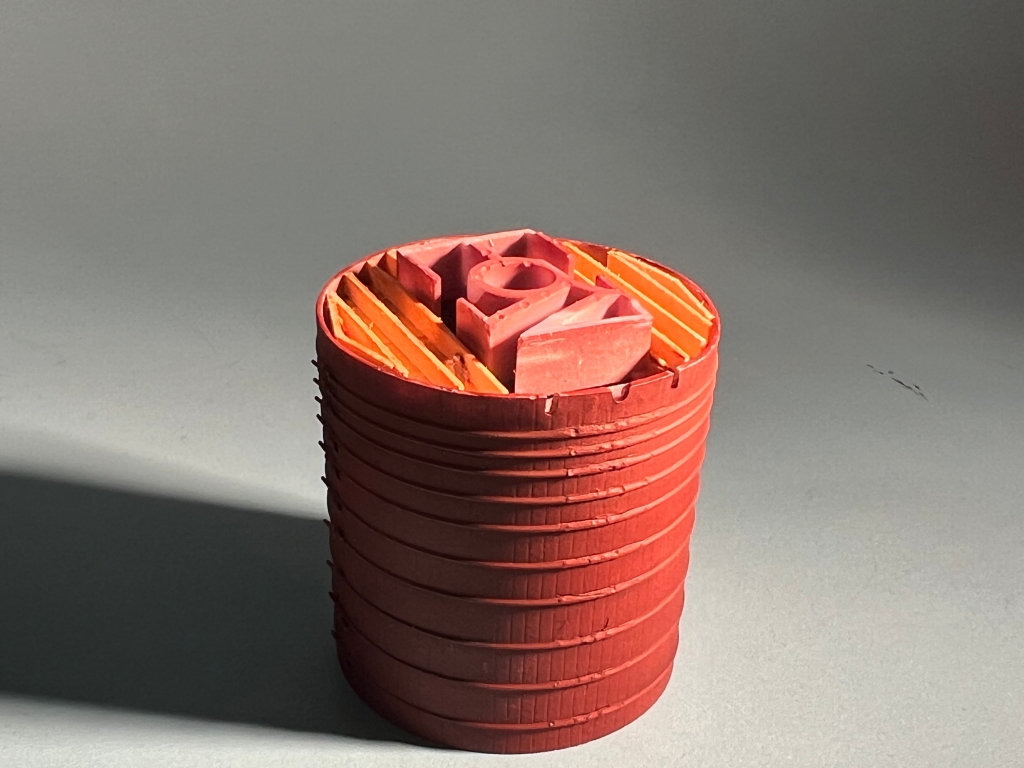
However, when it came time to make the tank in real life, it was a relatively straightforward 3D-printing job. There is some barely perceptible layering, but because the bands were printed in place, I wasn’t able to get in to sand the boards smooth. Except under portrait conditions as in these photos, it’s difficult to see. When in position on the layout, almost two feet from the edge, it is impossible to see.
Speaking of impossible to see, I took the time to add the tank floor and joists. I like to use wood to represent unpainted wood when possible, but perhaps I should have printed these. There was a silly amount of cutting and fitting of scale lumber involved, and it is some of the worst modelling I’ve completed in years. When the dust had settled, I had an unsightly gap in one of the floor boards, and so I installed a wasp nest. Of course, that is right above the door.
The tank itself got a layer of Tamiya primer, followed by some Poly Scale Mineral Red. A pin wash of ivory black and burn umber, and a grey drybrushing helps to define the bands. The tank is no more than six years old, so weather has not yet left much of a mark.

