The coal car project is entering the frantic phase as I stretch to meet the deadline imposed by the Railway Modellers’ Meet. Photos are sparser and messier, and blog posts are dropped in favour of time at the work bench.
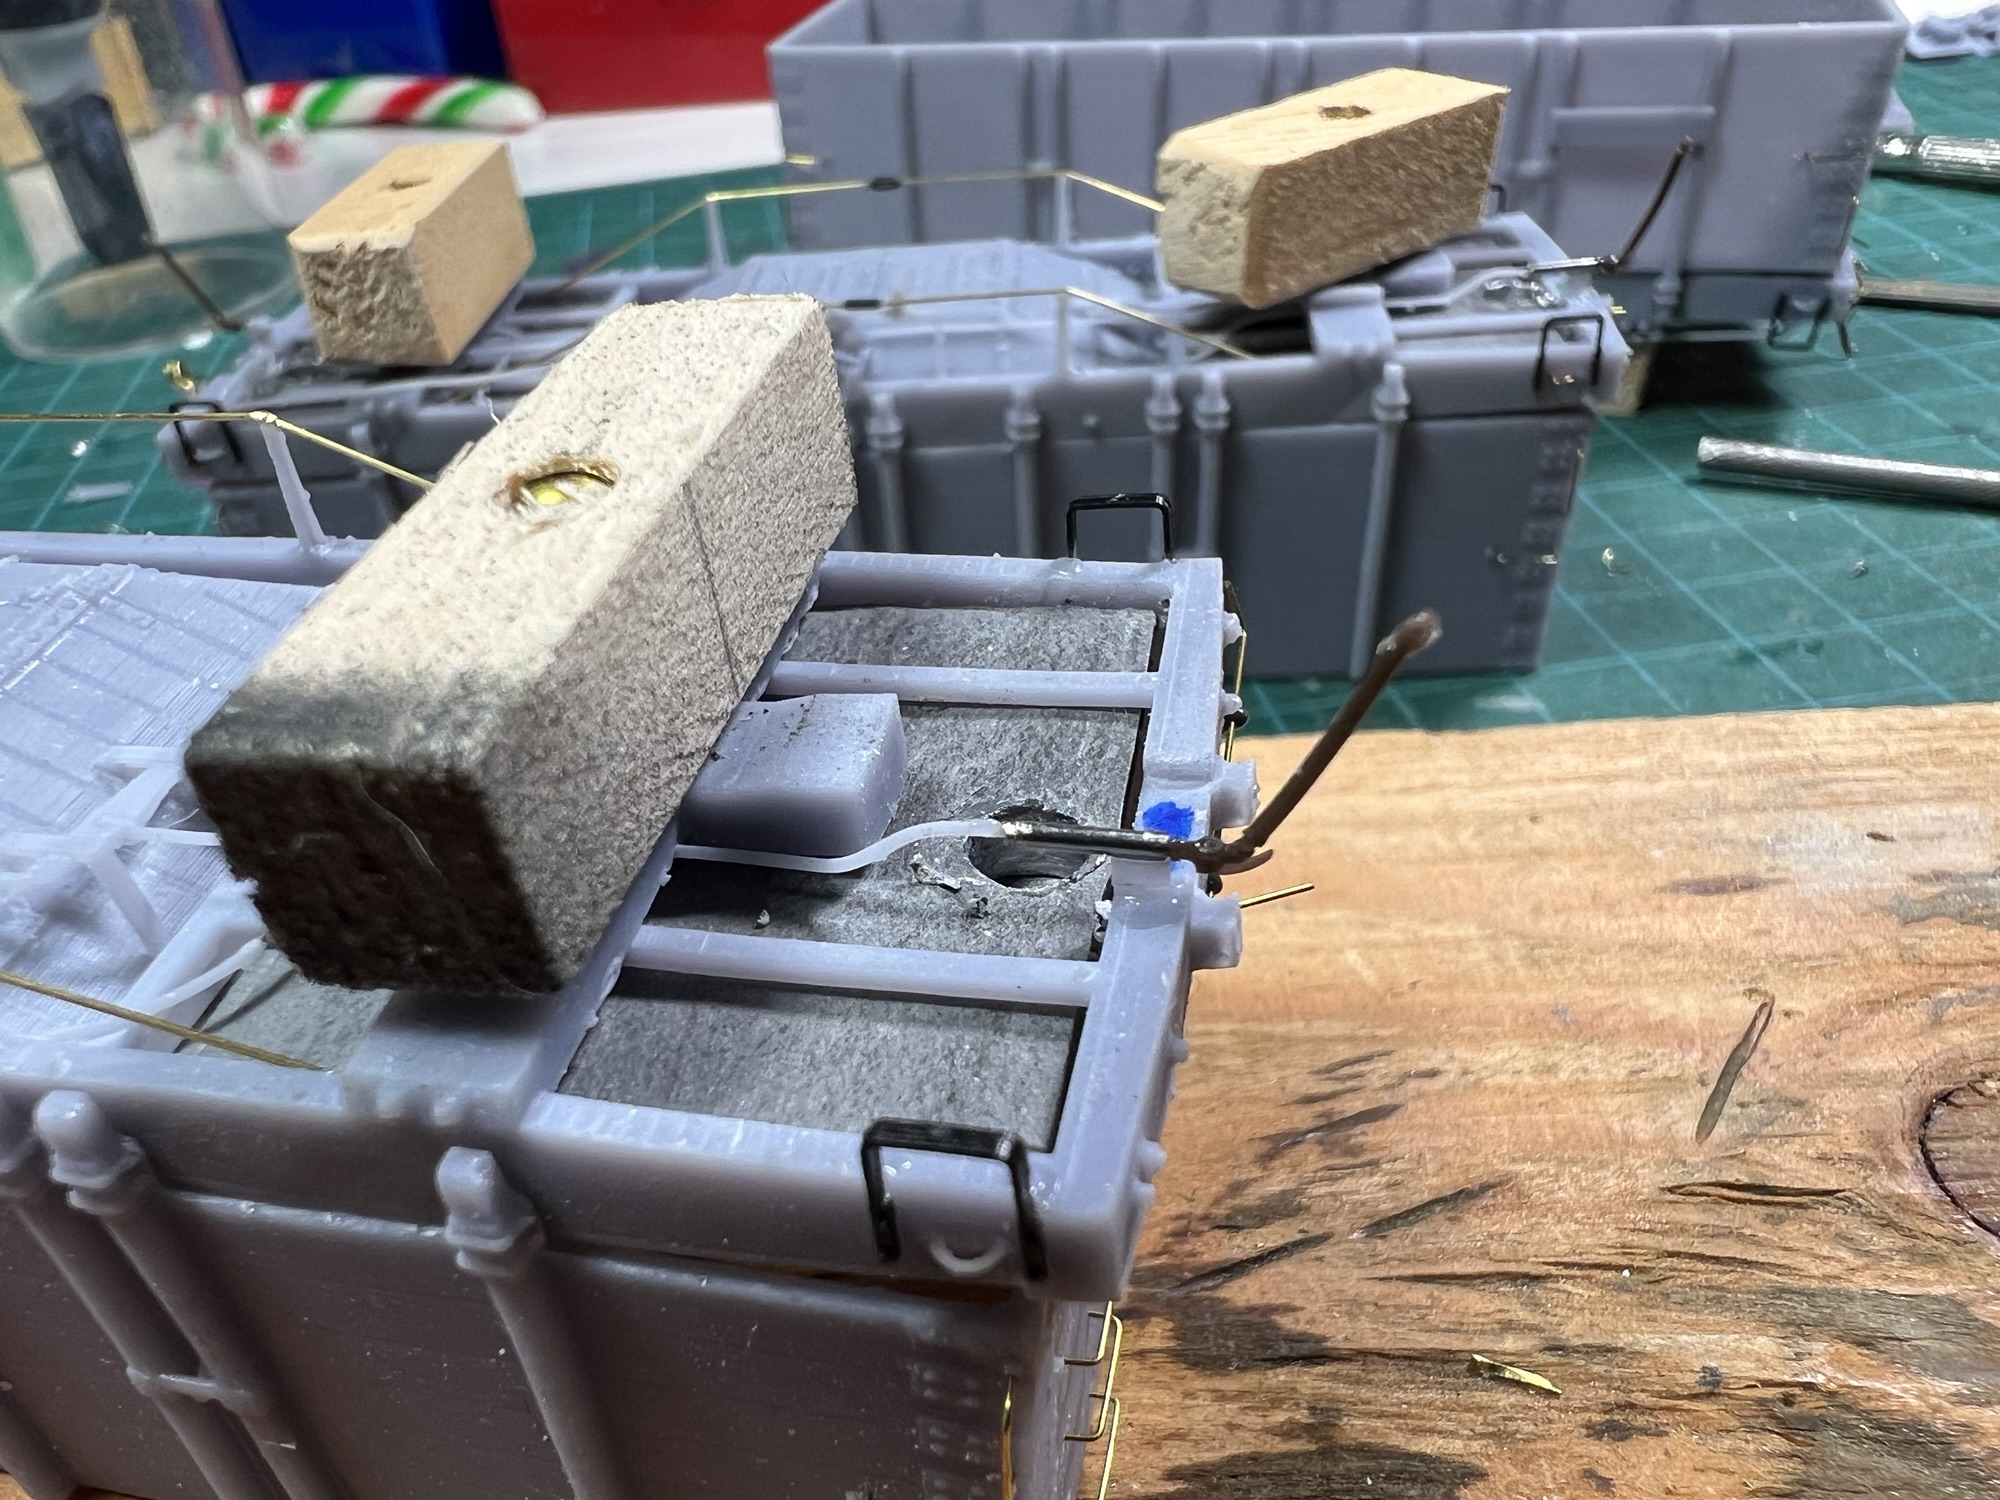
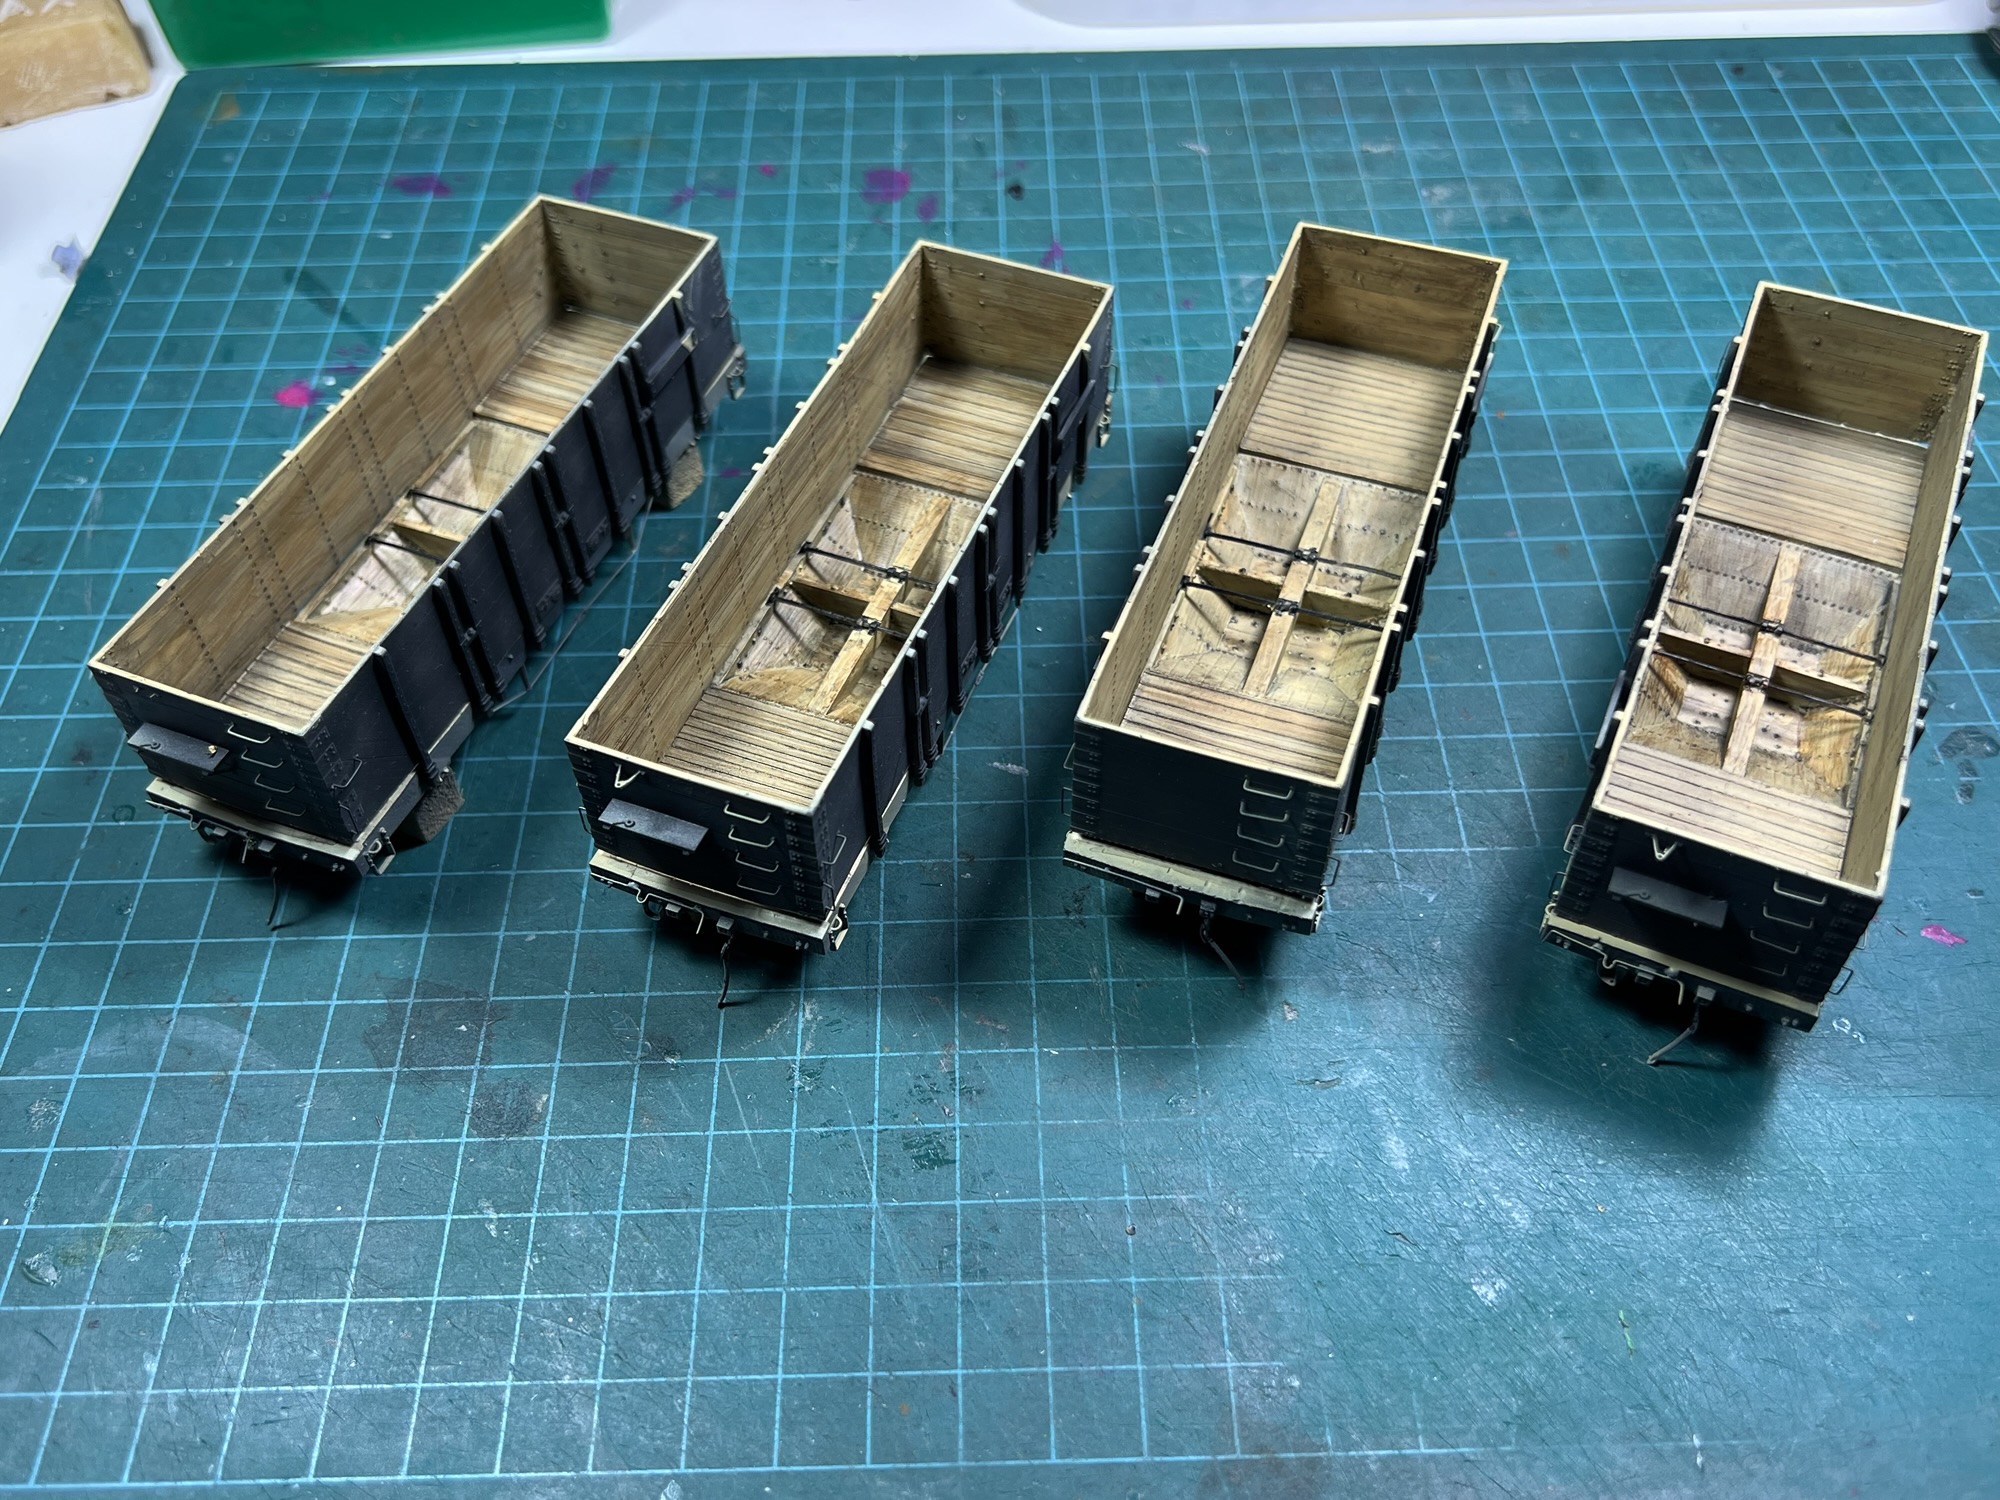
Once assembled, it is difficult to get into the interior of the cars for detail painting, and so I designed these cars to be assembled after the interiors are painted. In retrospect, I should have designed the cars with even more parts to make the painting easier. If I were doing it again, all the ironwork would be separate parts, especially the straps that support the hopper and doors. One day I will learn this lesson.
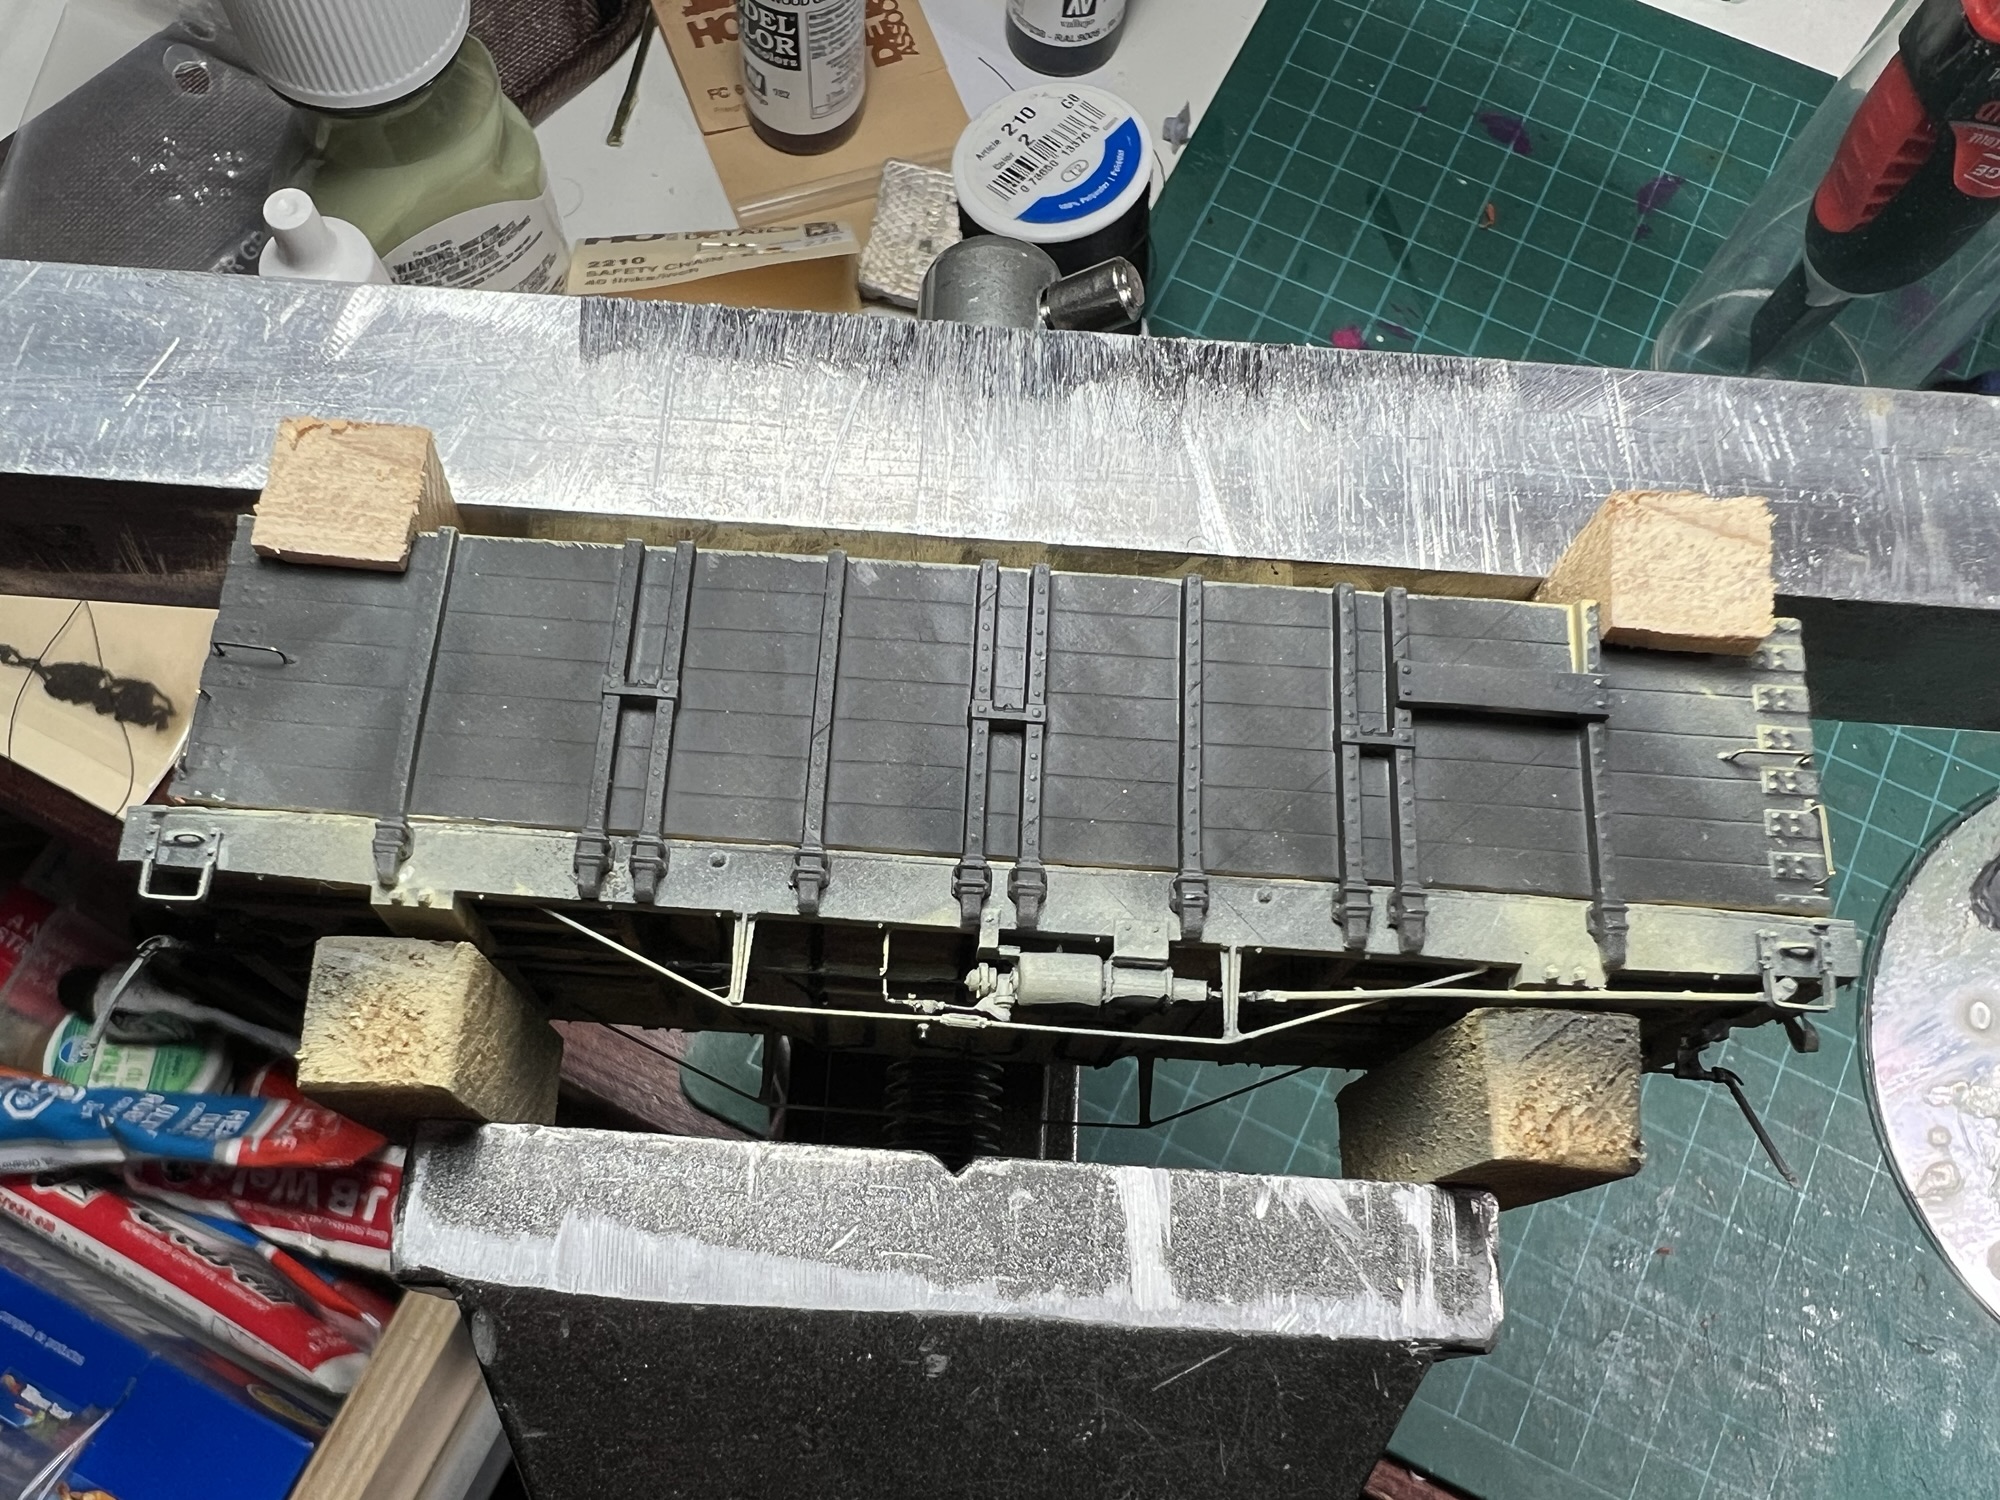
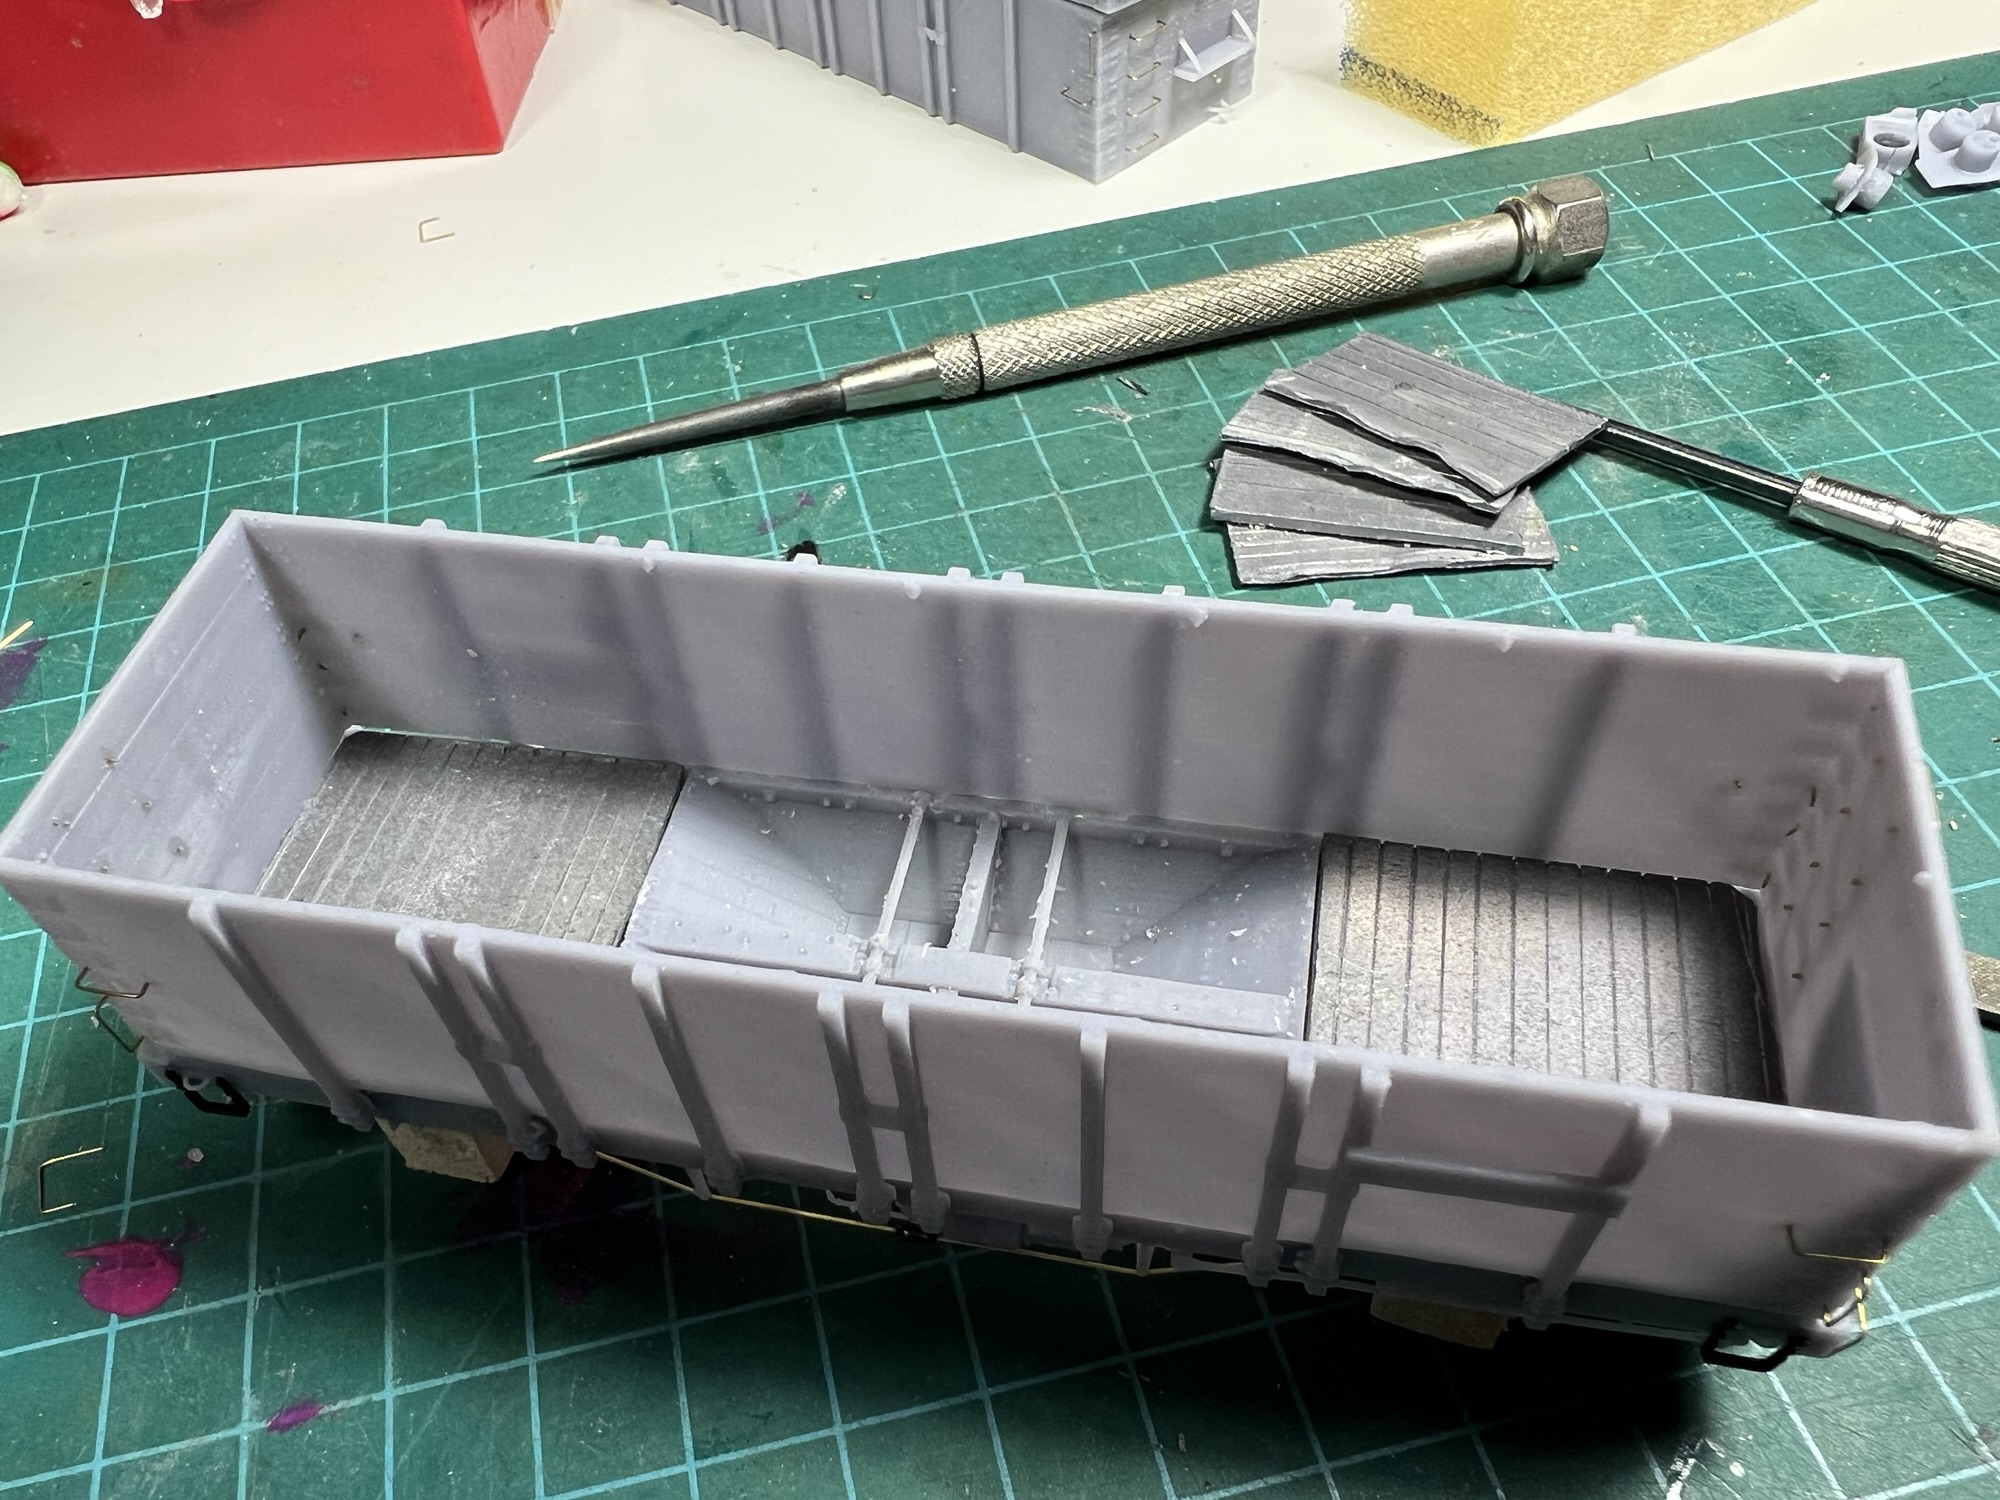
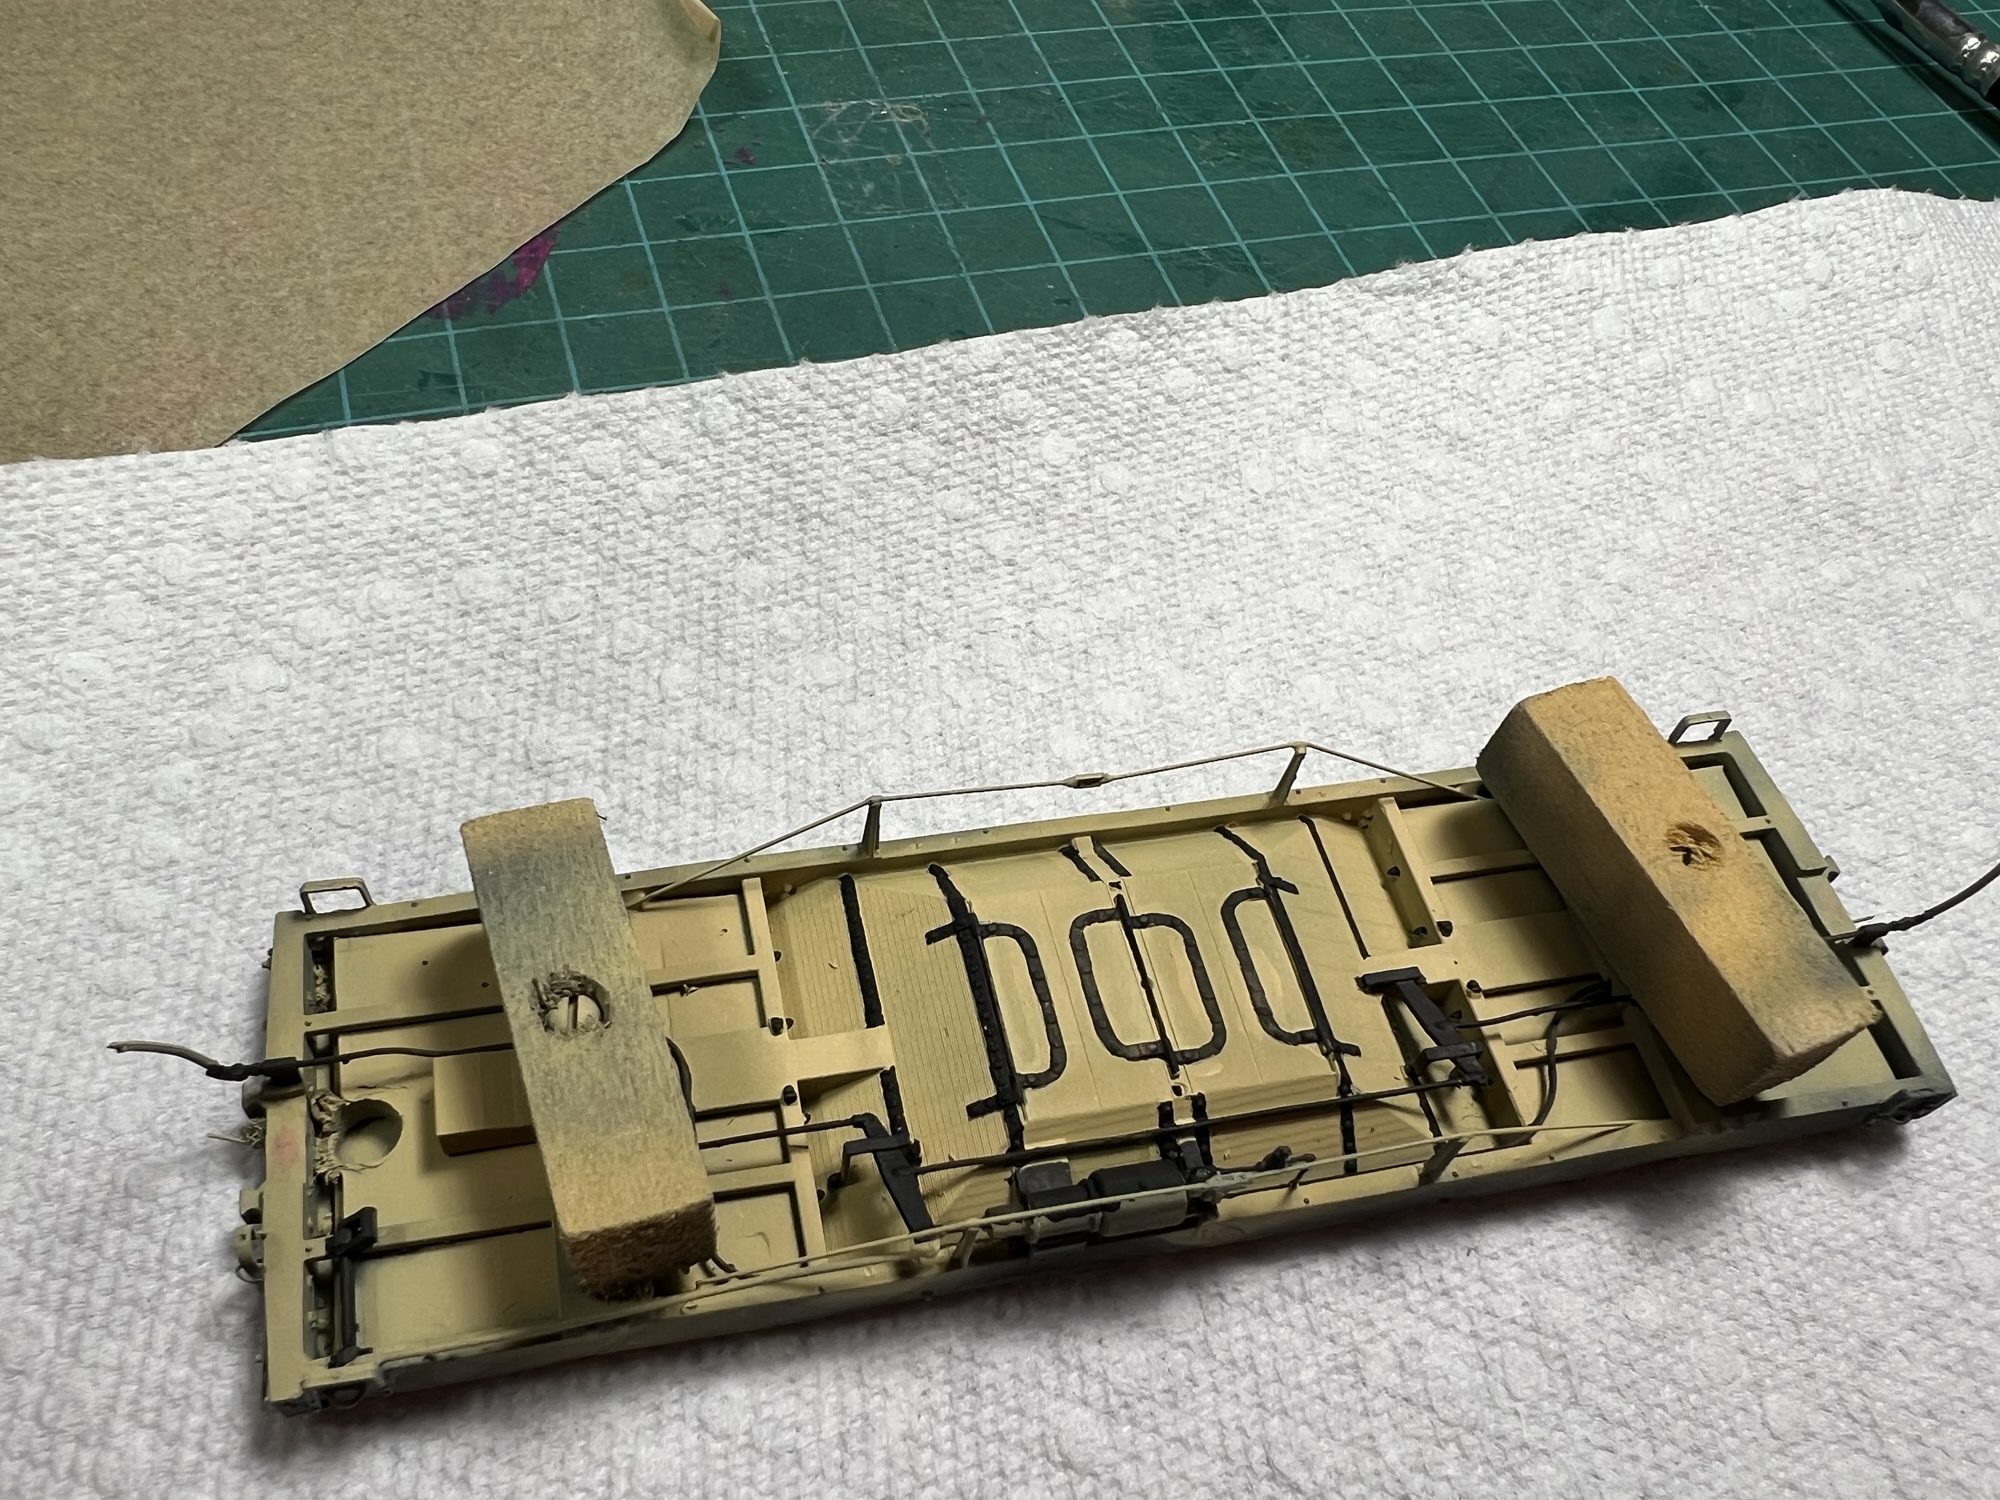
The last modelling tasks – installing air hoses, truss rods and a lead floor – were completed. The original design called for lead in the underframe over the trucks. However, the resulting cars were about two ounces underweight compared to the NMRA recommended practice, which I aim for on open cars. So, I scribed some .75mm lead sheet to represent the floor at the end of the cars.
When it came to primer and paint, the frames proved tricky. The many details make it difficult to lay an even coat of paint, and the Vallejo dark sand I used as a bare wood base required three coats over an epic 2-hour session with the air brush last Friday. I’d intended to paint the iron work while kibbutzing with the guys at the NMRA modelling night that evening, but the strapping was beyond my painterly ability; it might have worked if the straps hadn’t had bolt heads all over the place, but those pesky bumps were as Ottawa potholes for maintaining a straight line.
So, I coloured bolt heads with a pencil that Friday evening. And all the strapping waited until the next day when I bought some Windsor & Newton liquid masking. Even then, I needed to touch up quite a few spots with the brush.
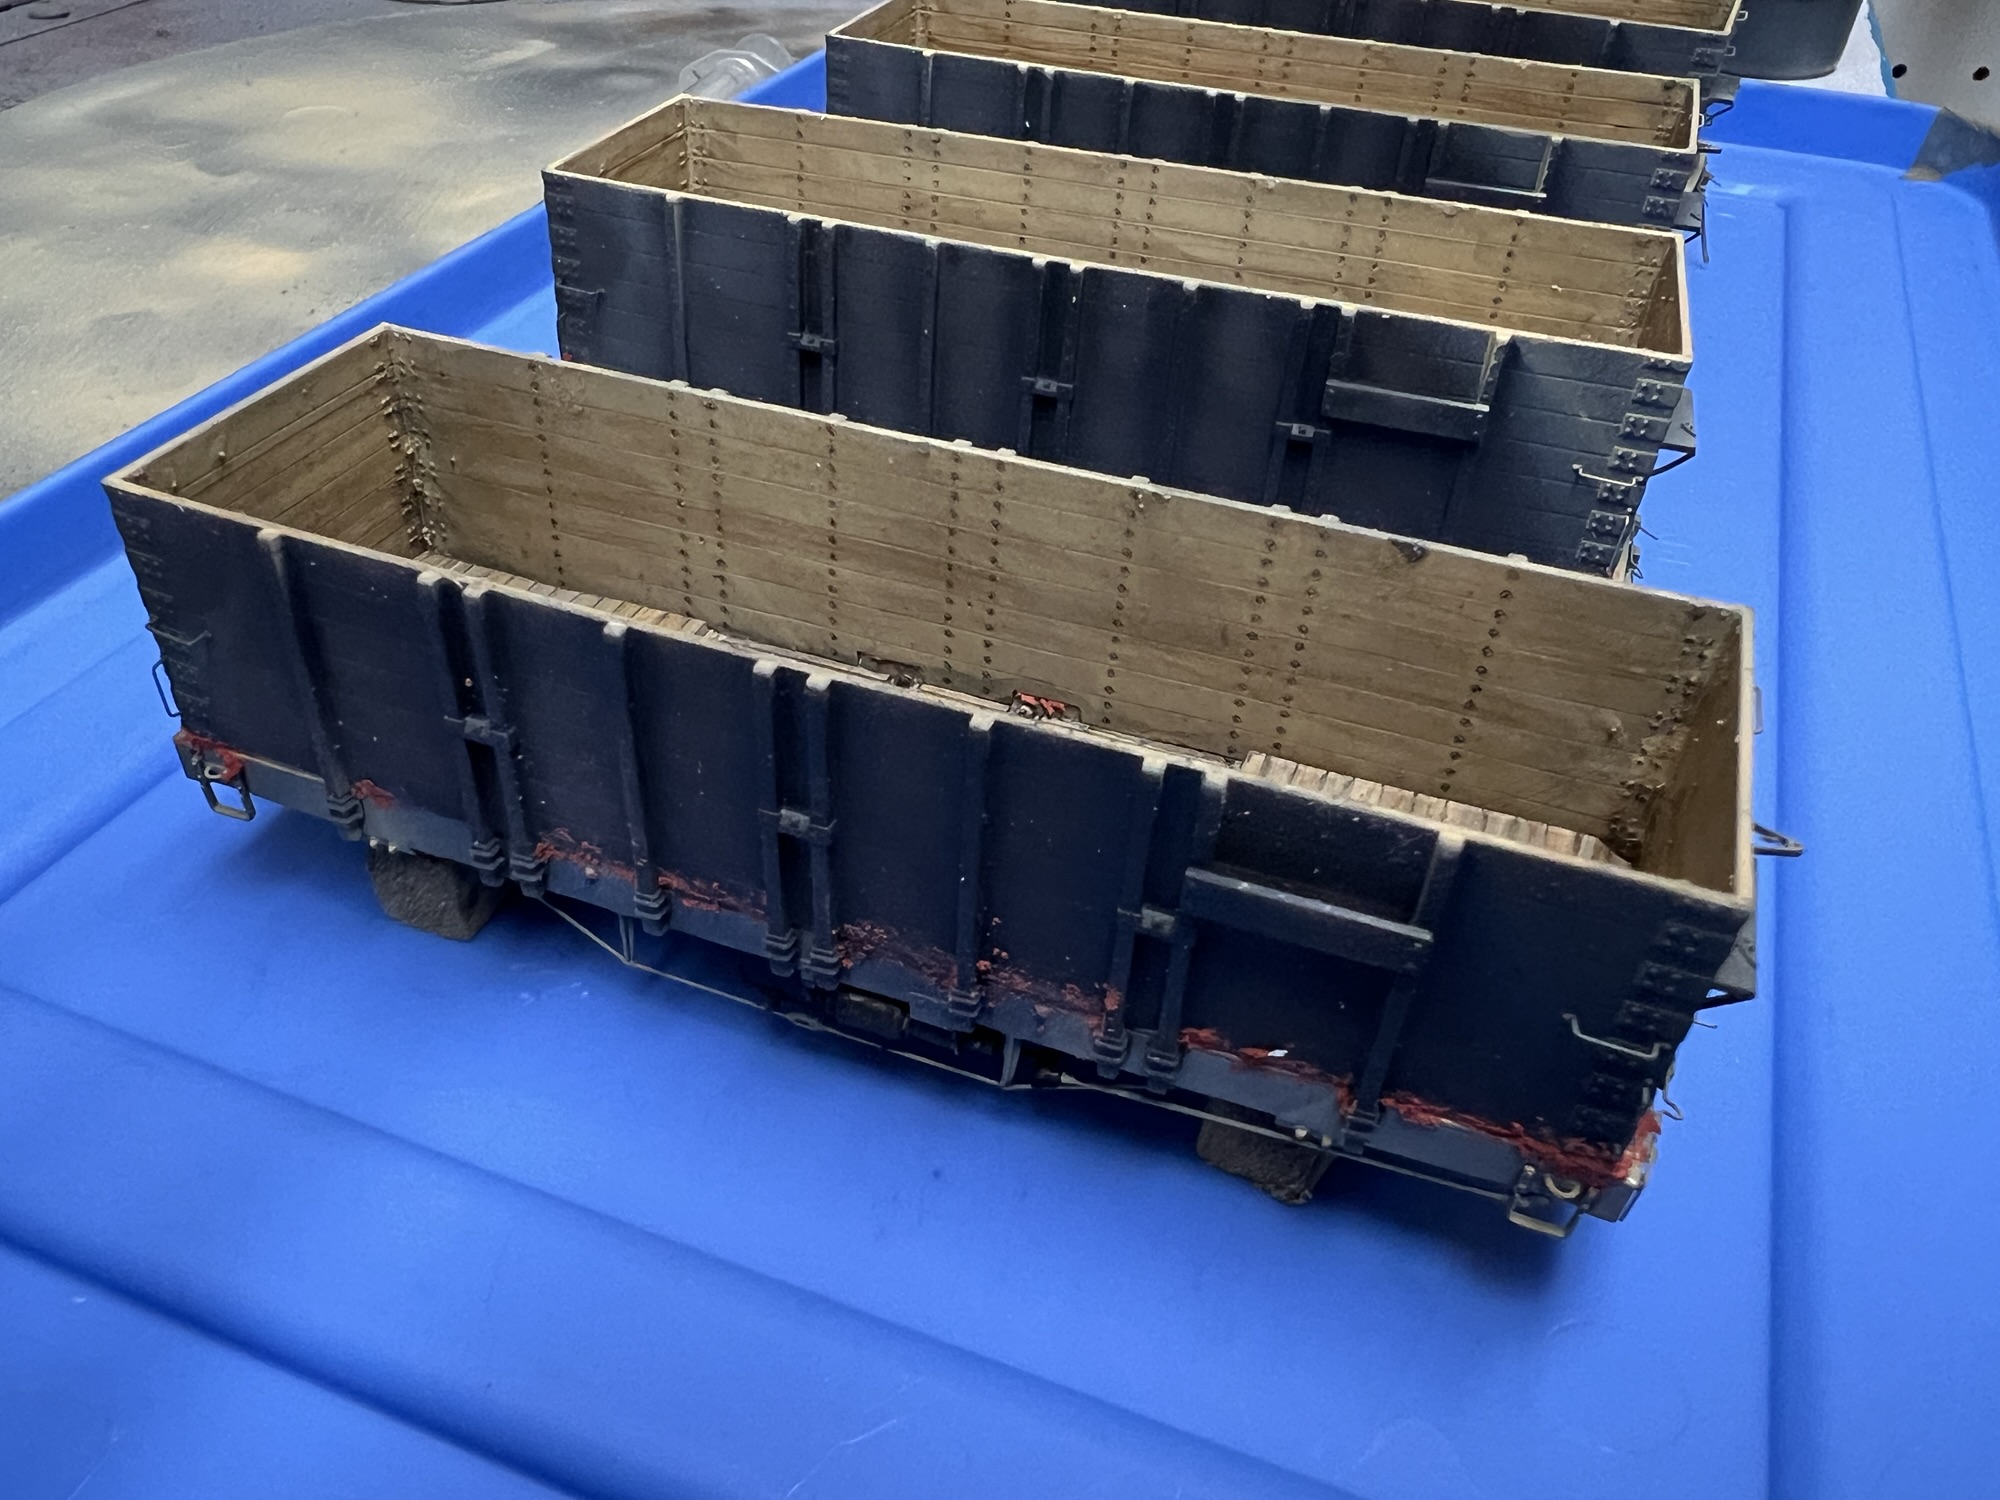
To continue with the bare wood look, I feathered on some Vallejo Smoke to simulate wood grain. Once that was dry, I added a black wash to tone down most of the grain and turn the insides a pleasing woody grey.
I would have installed all the door chains before assembling the cars, but those chains are going to take some serious time to build, and next week I have visitors staying in the train room. I want to get the cars ready for decals before they arrive. I can apply decals and crochet chain at the kitchen table after they go to bed.
So, it is on to assembly. I never did fully resolve the sagging at the ends of the prints. Additional supports improved matters, but especially with the print orientations oppposing, there was a gap at the ends of the cars. Gentle clamping while gluing resolved most of that, and hopefully doesn’t result in explosive forces accumulating in the cars over time. The rest of the gaps, I’ve filled with toddler-like spot glaze putty – awful-smelling and poorly-behaved. There is some serious sanding in my future, but I think I’ll have the cars ready for more paint by the weekend.