It’s been a while since we checked in on Percy. After the failure with my 3D-printed gearbox and 6x12mm 3V motors, I decided life is too short to solve every problem myself. So, I ordered a couple of RoadRunner Compact kits from HighLevel Kits, and a pair of 0615 12V motors from TramFabriek. These got placed in a project box with the rest of Percy’s parts while I finished the coal cars, and re-emerged a couple of months ago.
The only problem with the HighLevel gearboxes is their width. The final gear includes a massive grub screw, which pushes the sides of the gear box out to 8.6 mm. That might be fine for the UK loco scene were frames were made of plate, and the wheels are often 2 mm further apart. For HO, even Proto:87, it makes things pretty tight. In Percy’s case, it necessitated yet another new rear axle with the insulating joint even further to one side.
For some reason it took several attempts to get an insulated axle. The first one was not insulated at all, and the second one ceased to be insulated after being pressed into the wheel centres. The third time, I included an acetal washer between the two halves of the axle, and this one worked fine.
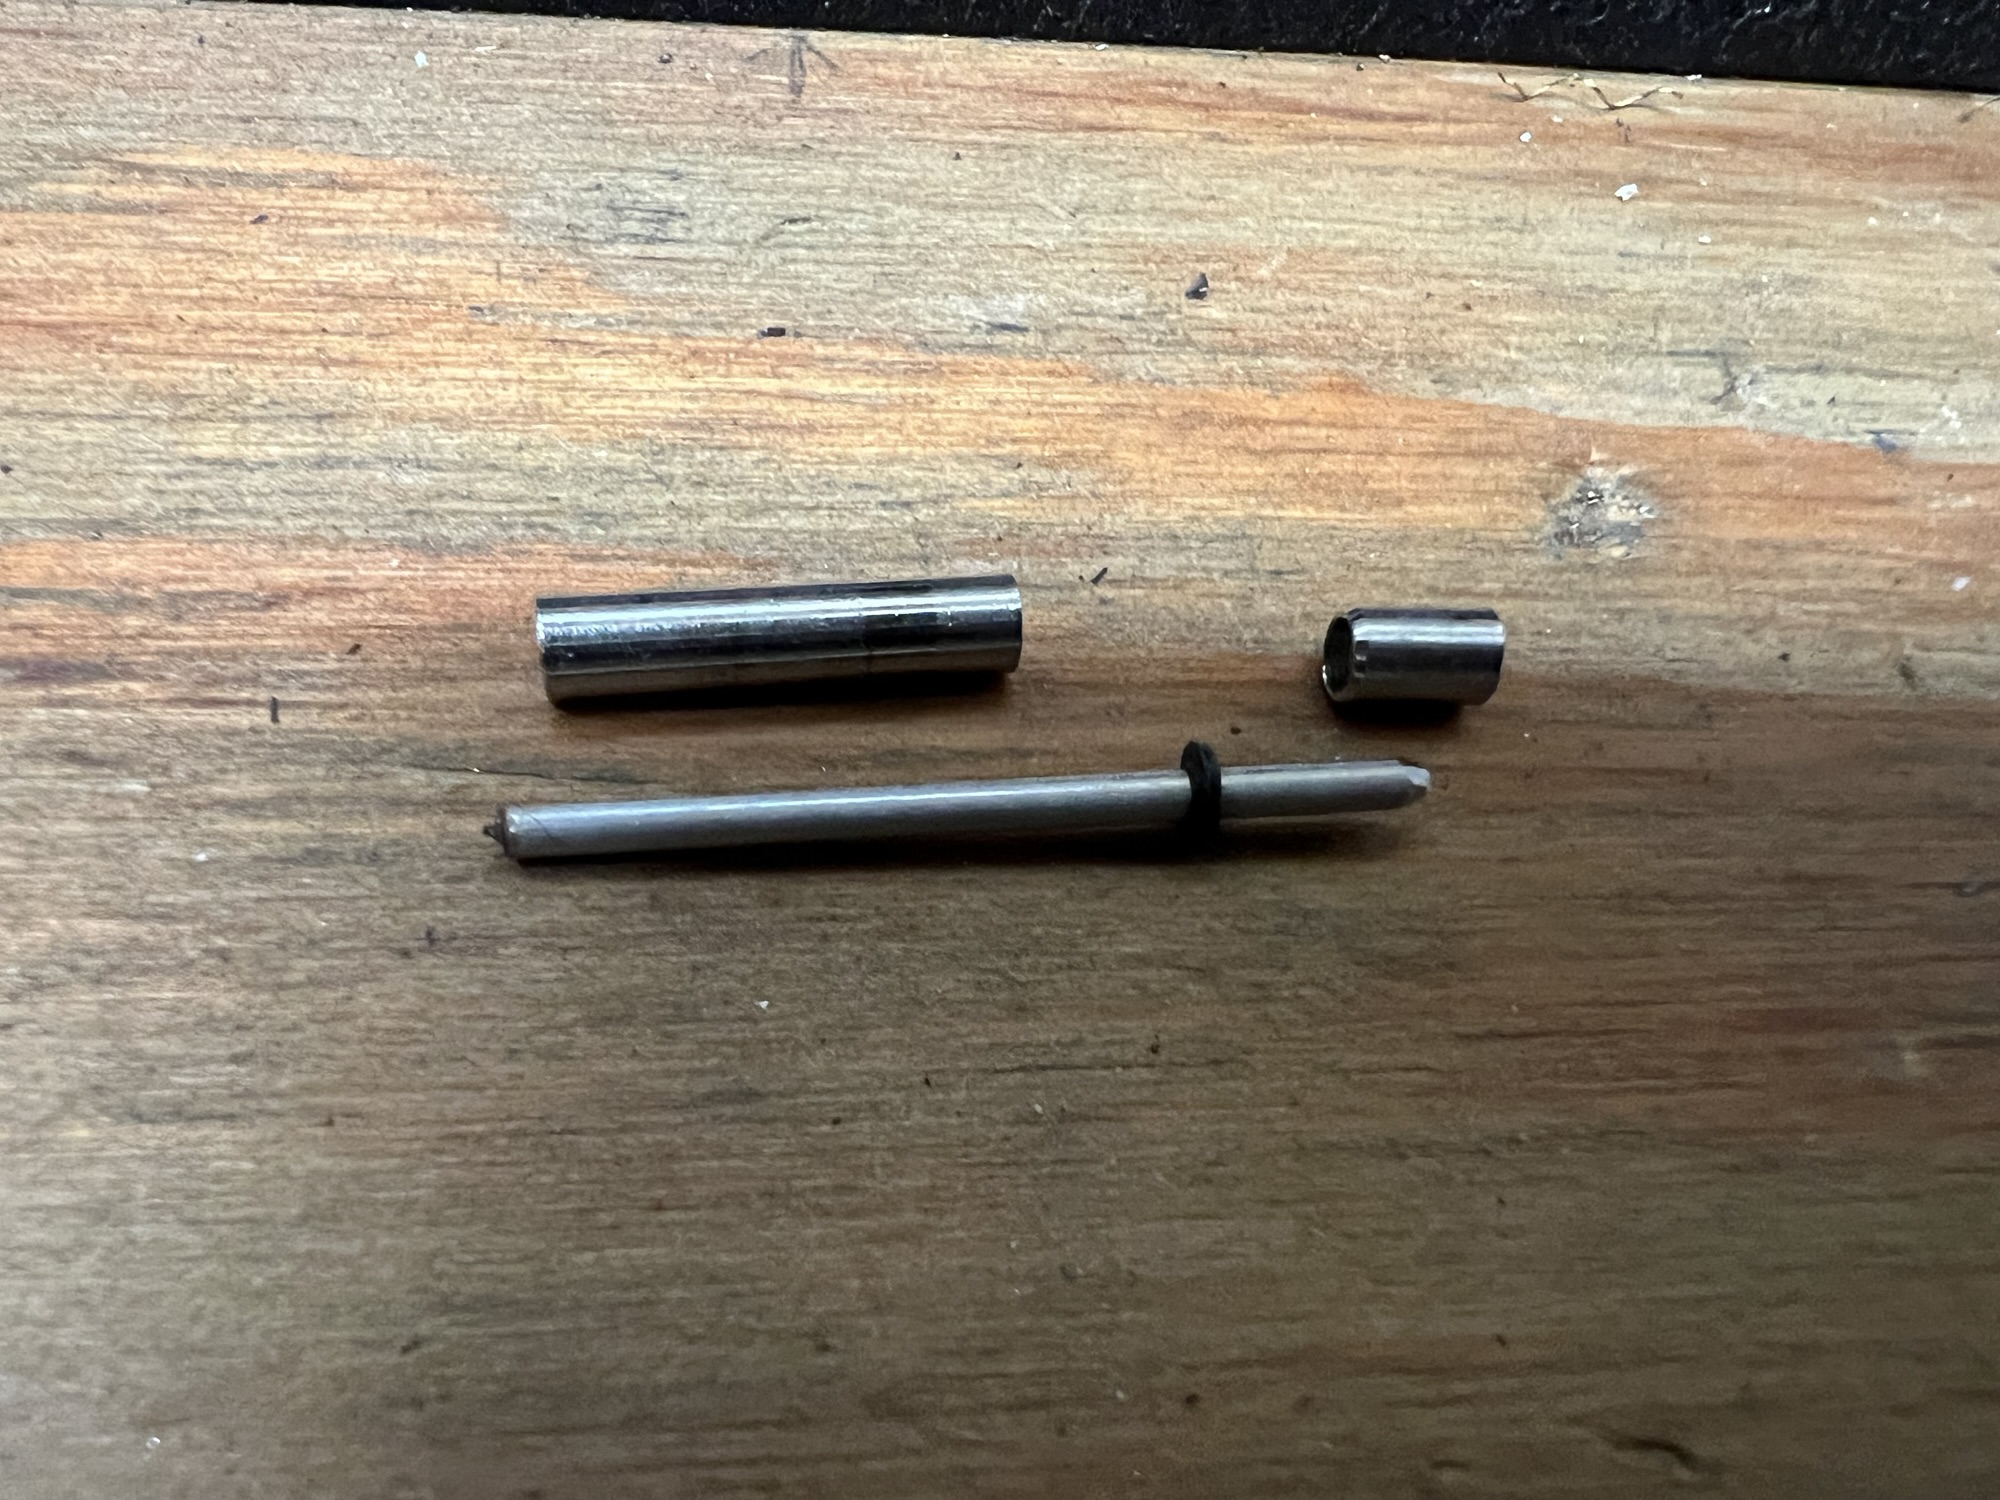
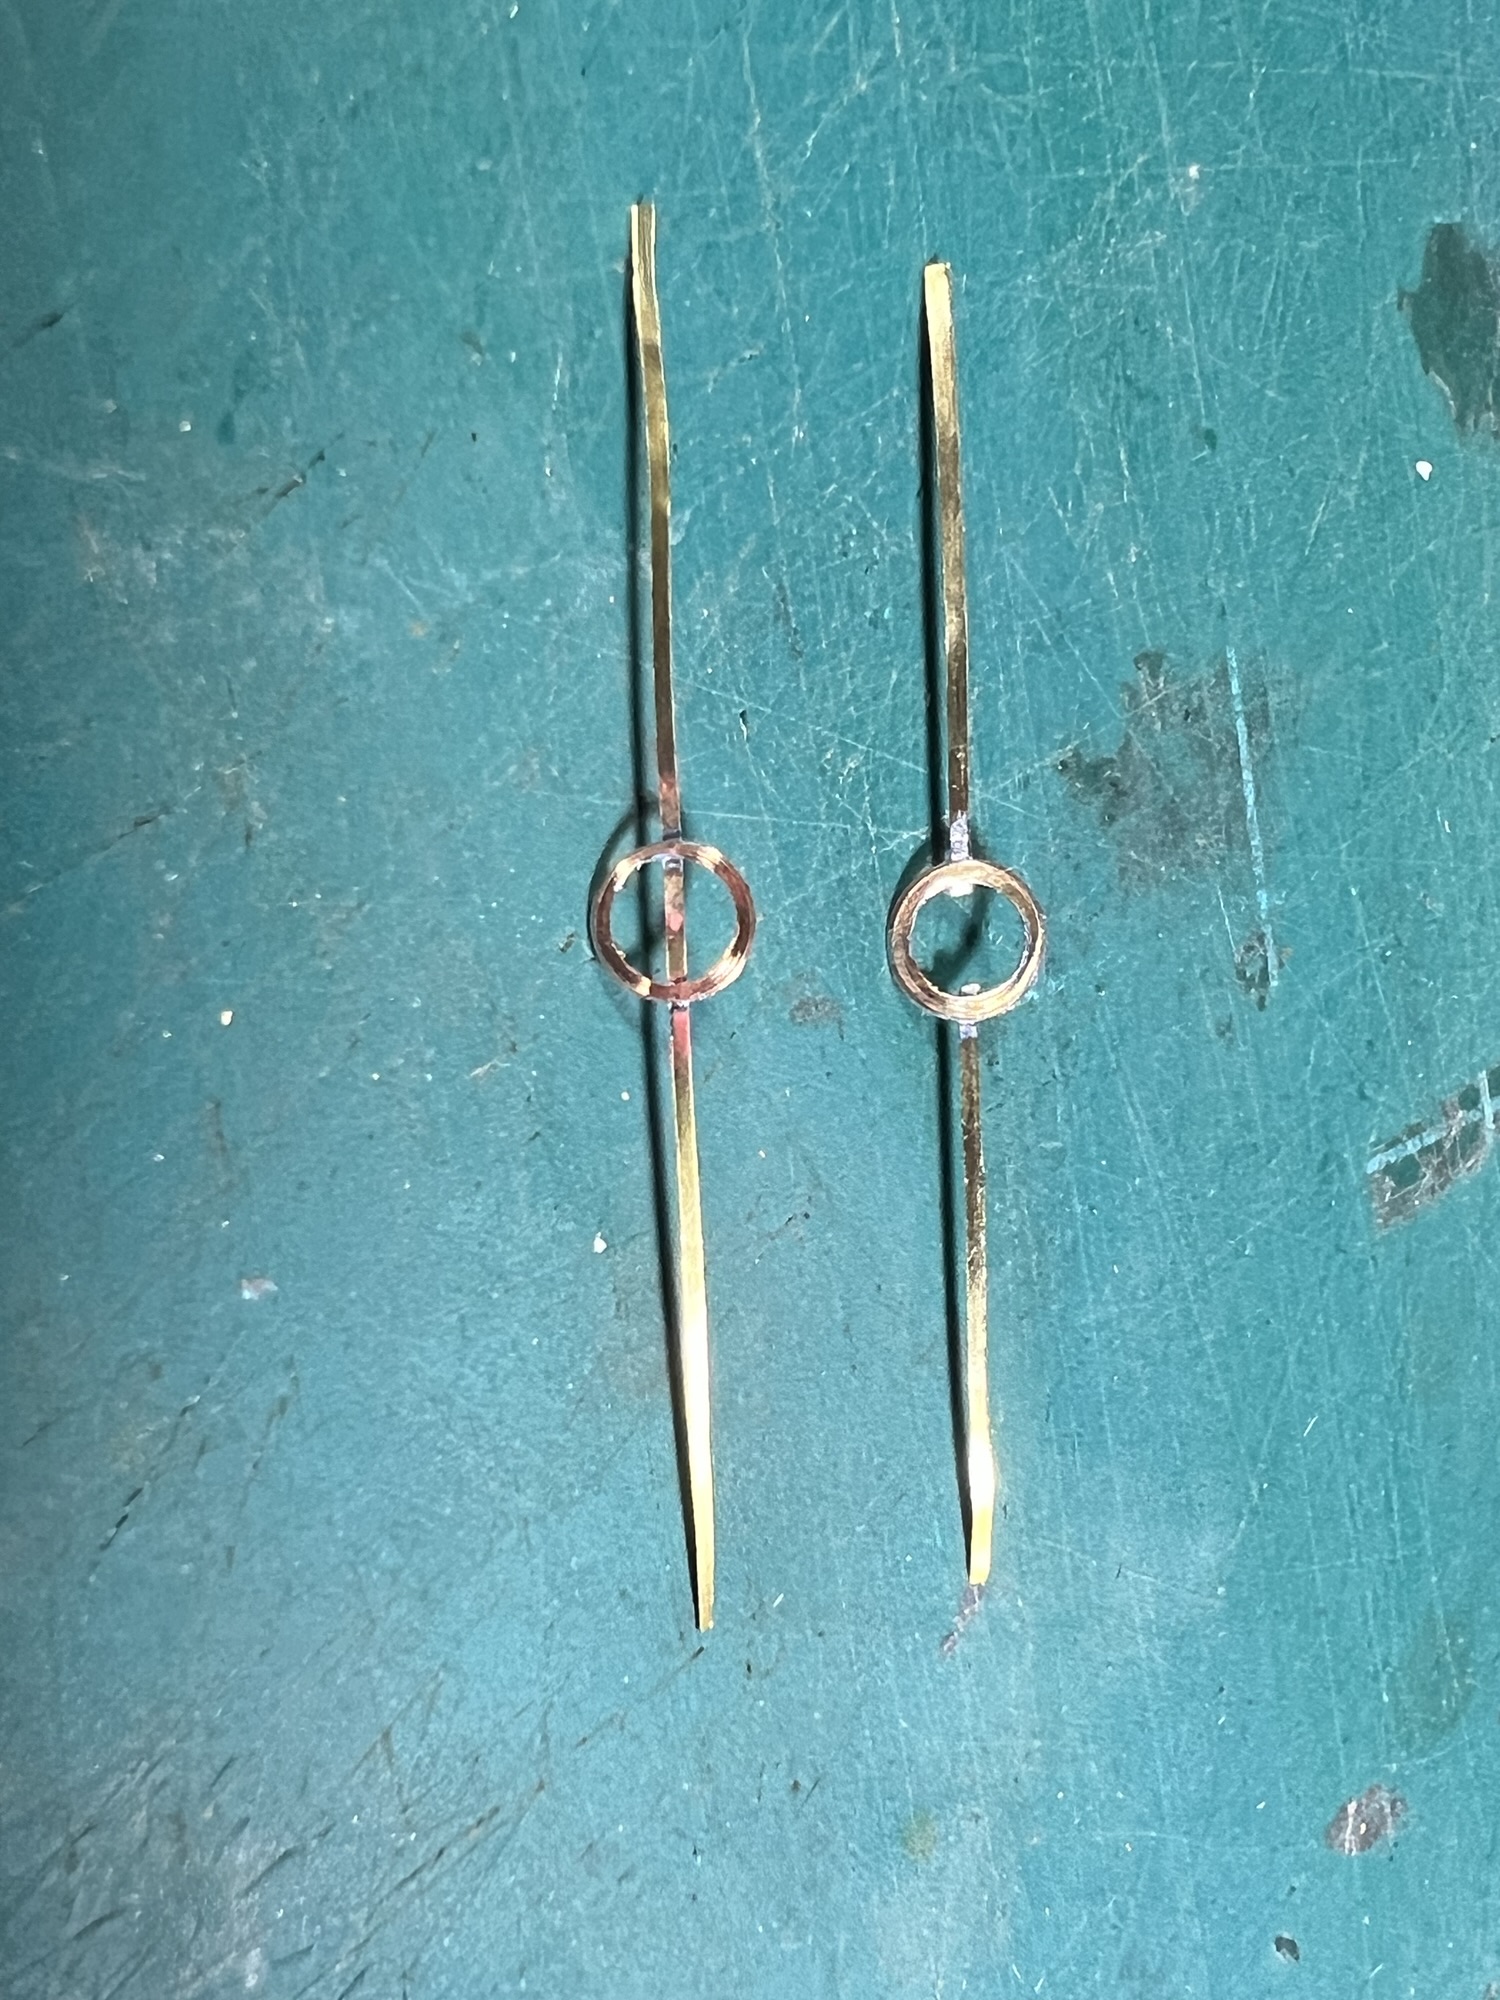
I also changed the approach to shorting the tyres to the two sides of the axle this time. I believe the single fine piece of wire I used last time caused the wheel to deform as the axle was pressed into it. This time, I took a more conventional approach and made shapes that are a tight fit on the axle ends; the ends of the strips still slip between tyre and wheel centre.
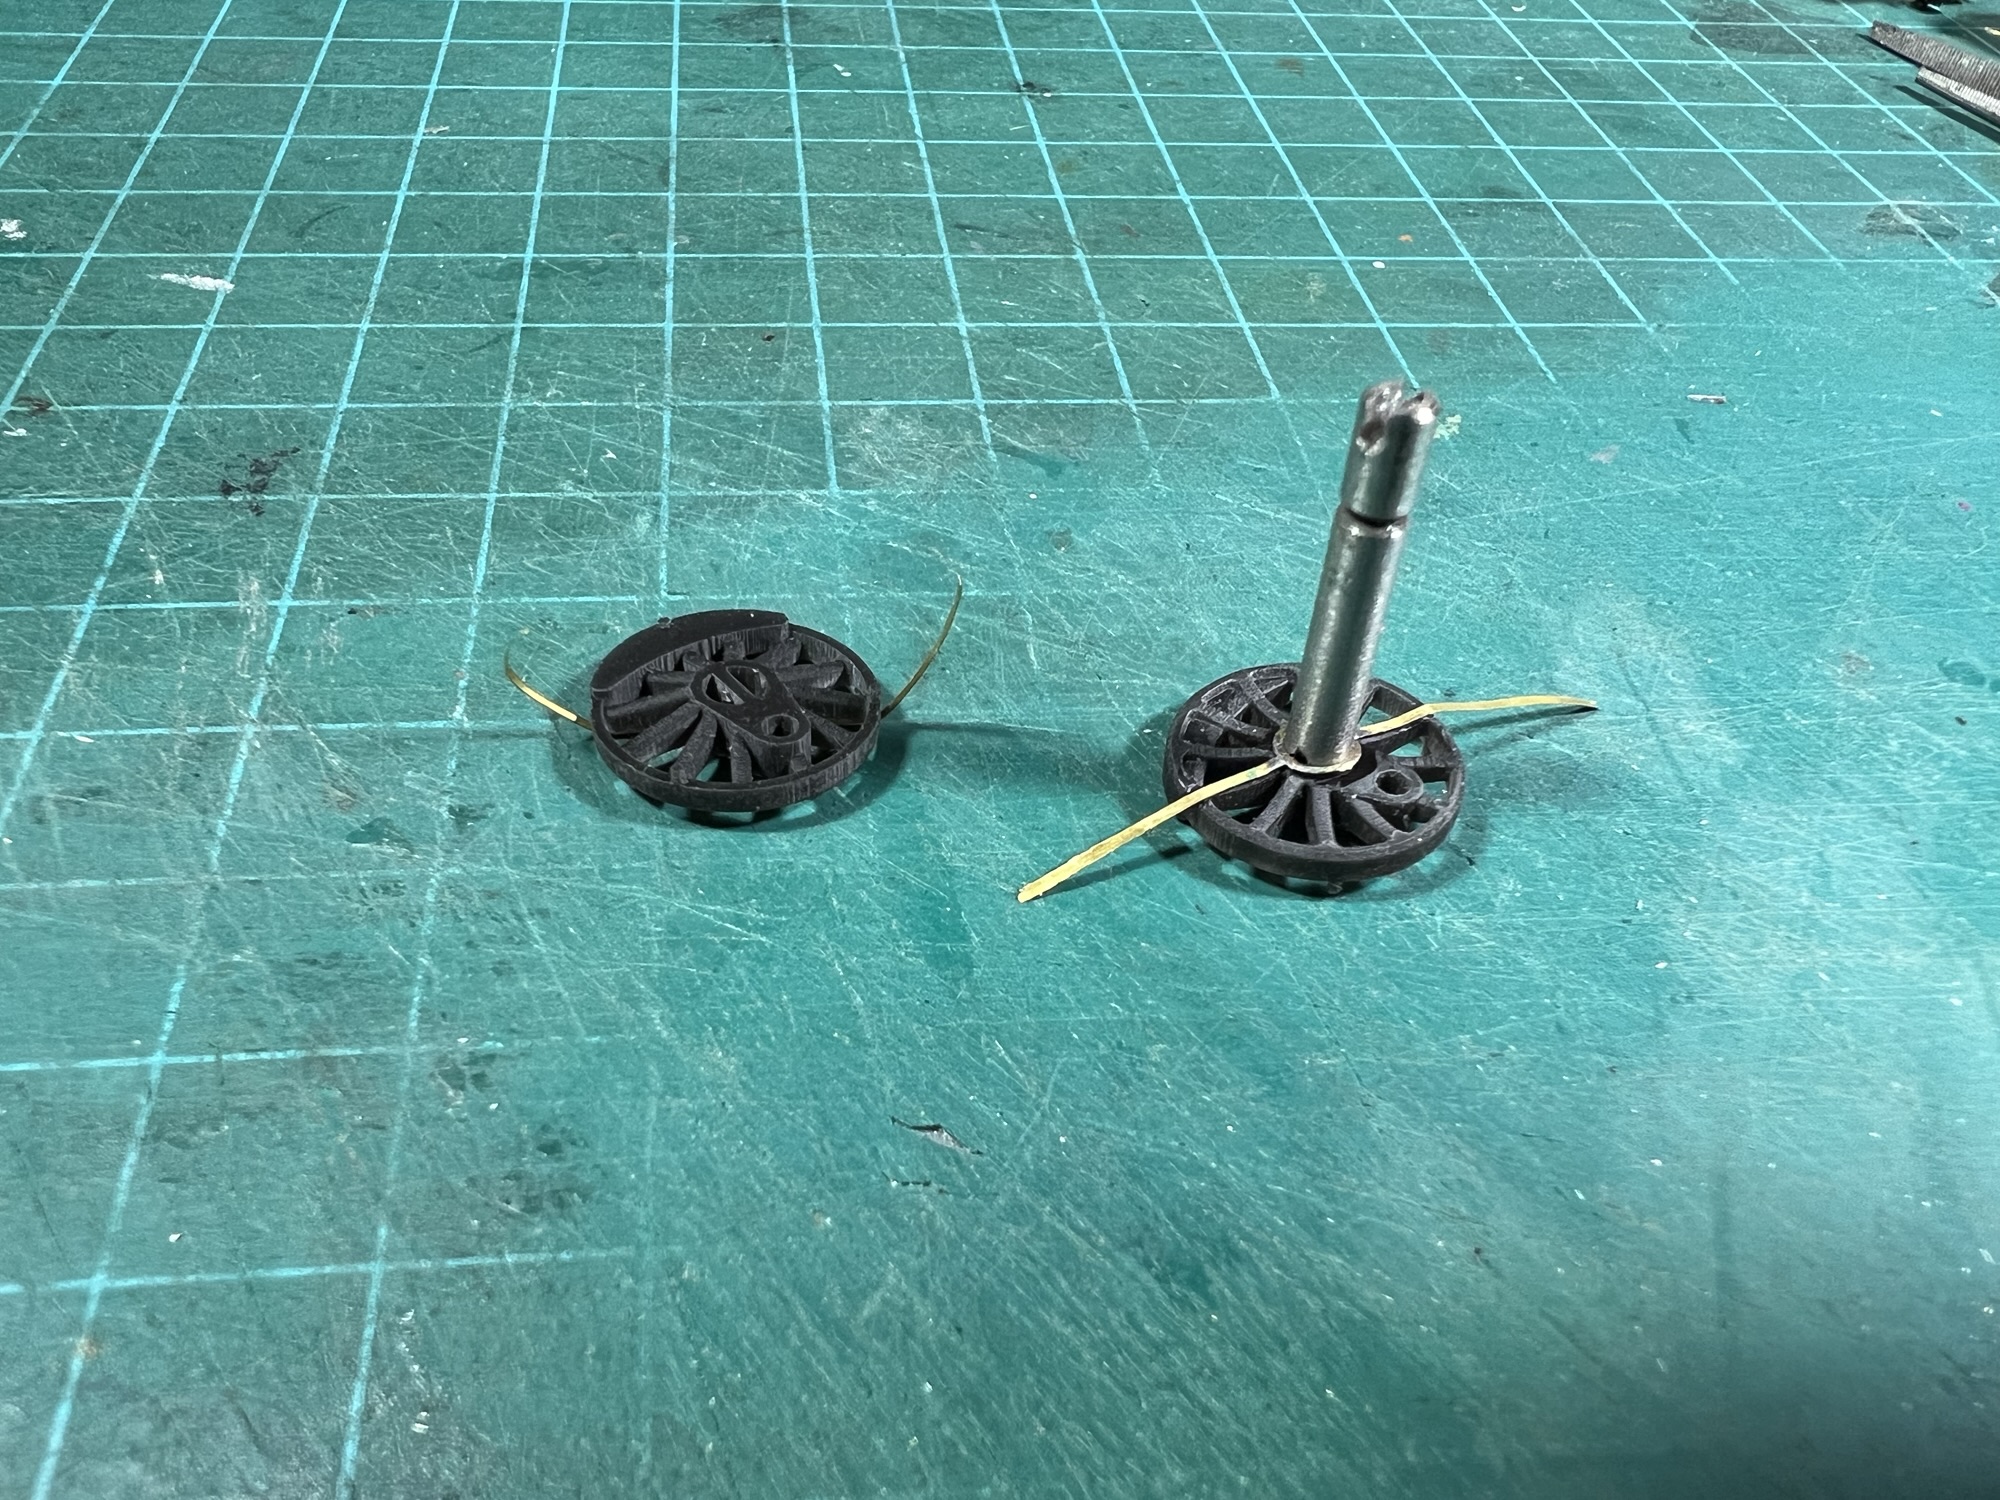
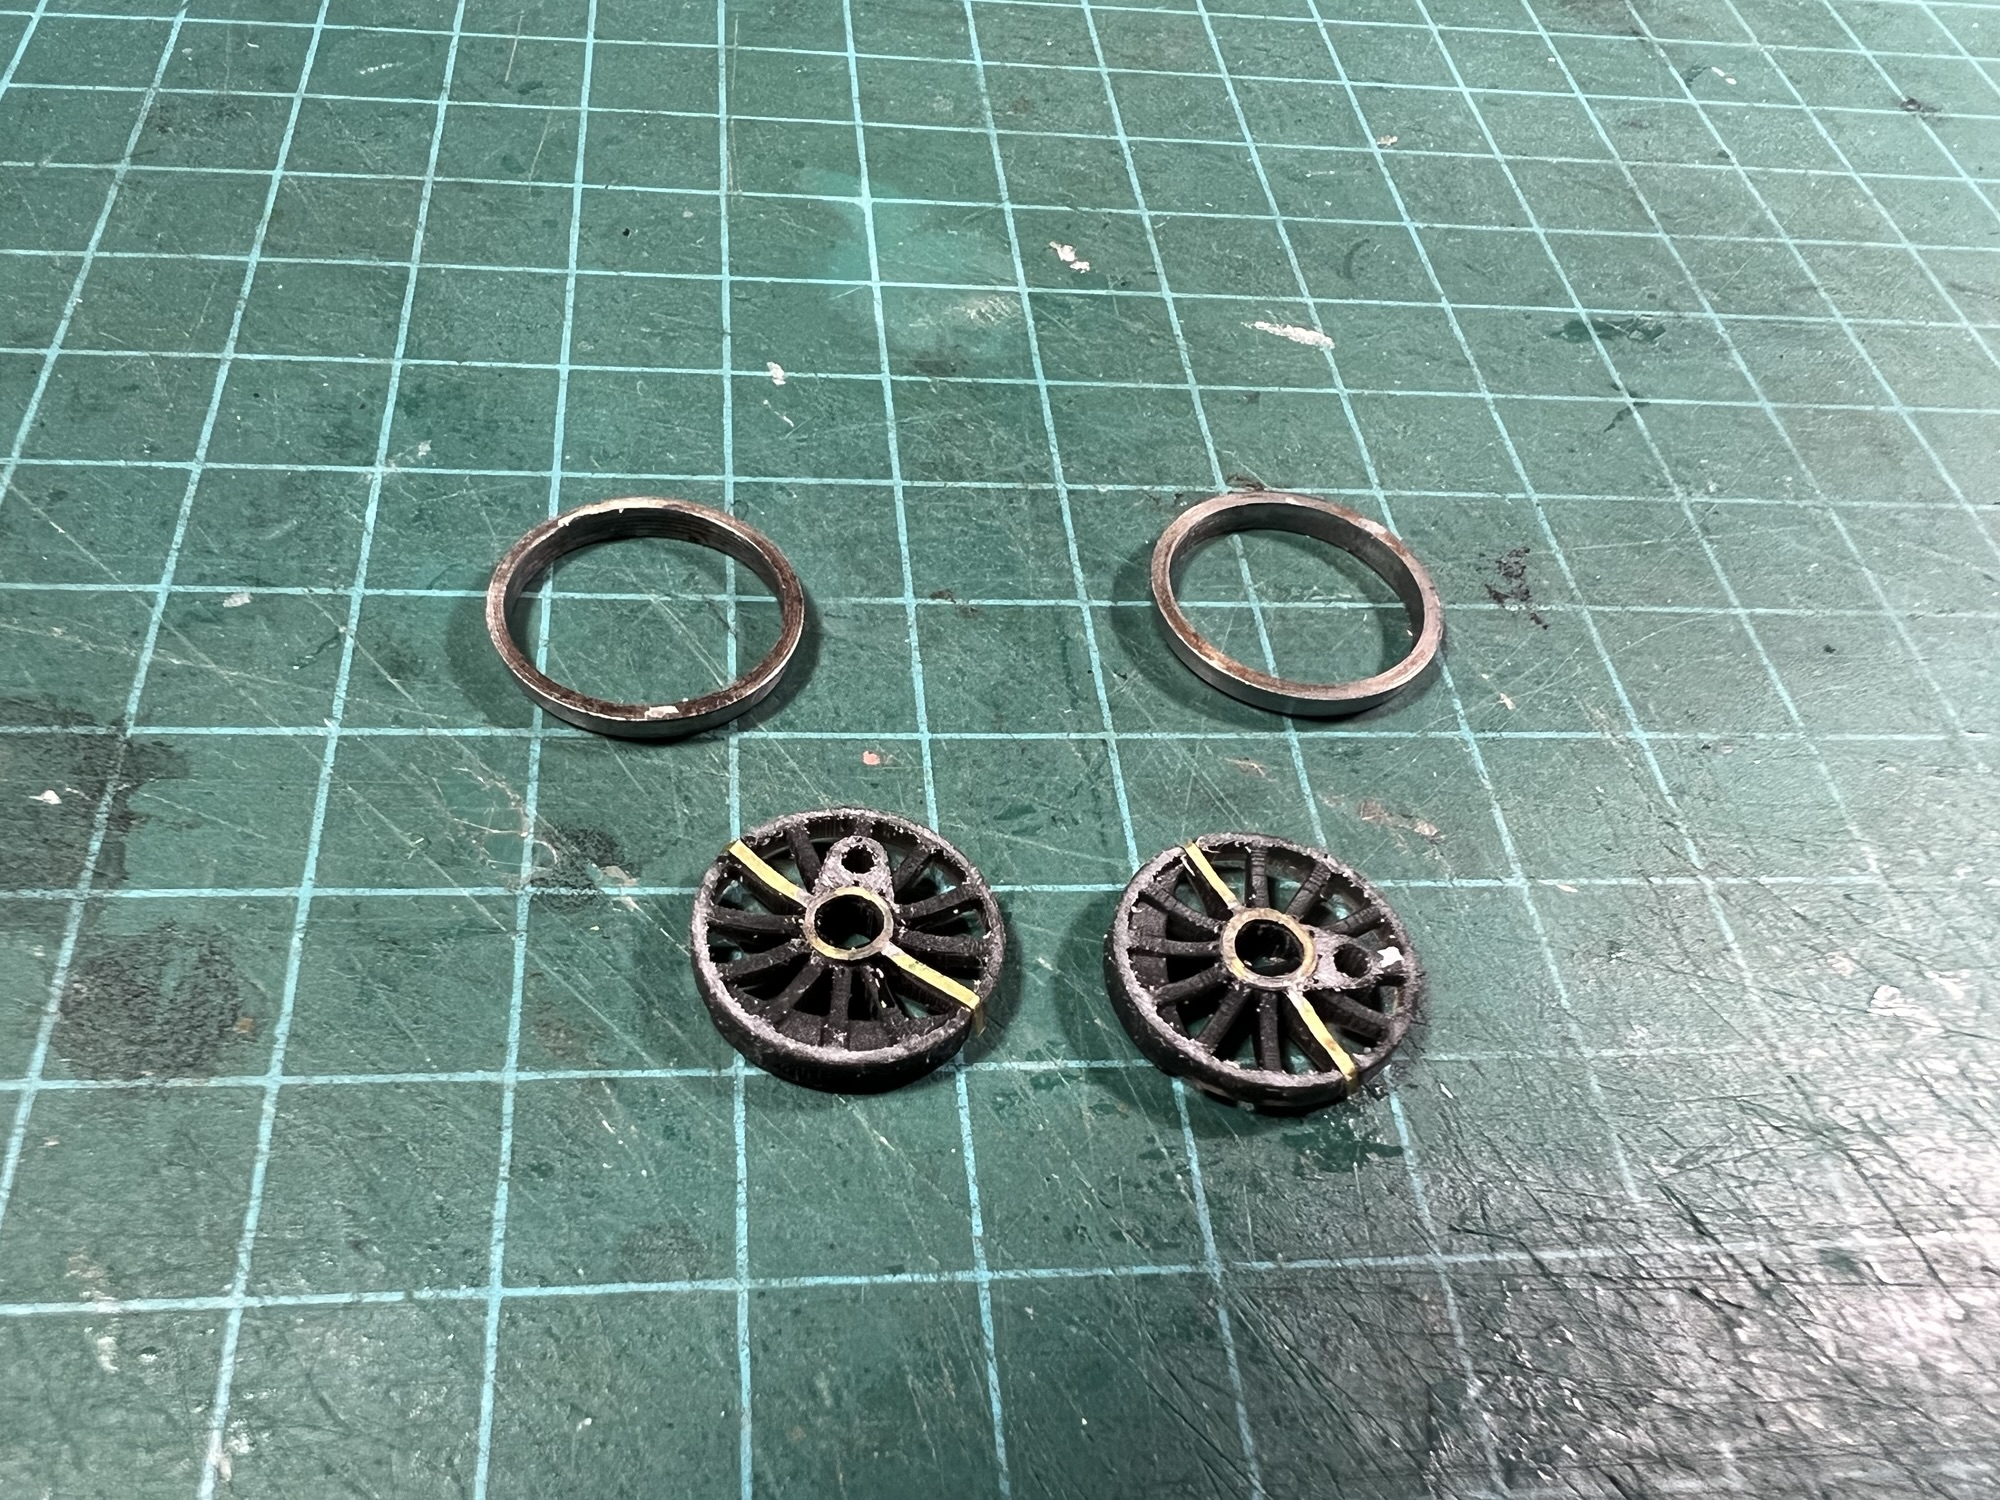
I also struggled with tyres this time. Perhaps the constant removal and replacement has made them bigger, or perhaps I’ve failed to get the inside surfaces completely clean of previous rounds of Loctite. In any event, I had to use CA to hold the tyres to the wheels this time.
The gearbox itself was a joy to assemble. The mounting holes were much too wide apart for my svelte motor, however. So, I shaped a piece of shim brass to cradle the motor. I then turned an aluminum jig to help clamp the cradle in place while I soldered it. This worked a treat, and I hope I will be able to find it when I go to assemble the second gearbox.
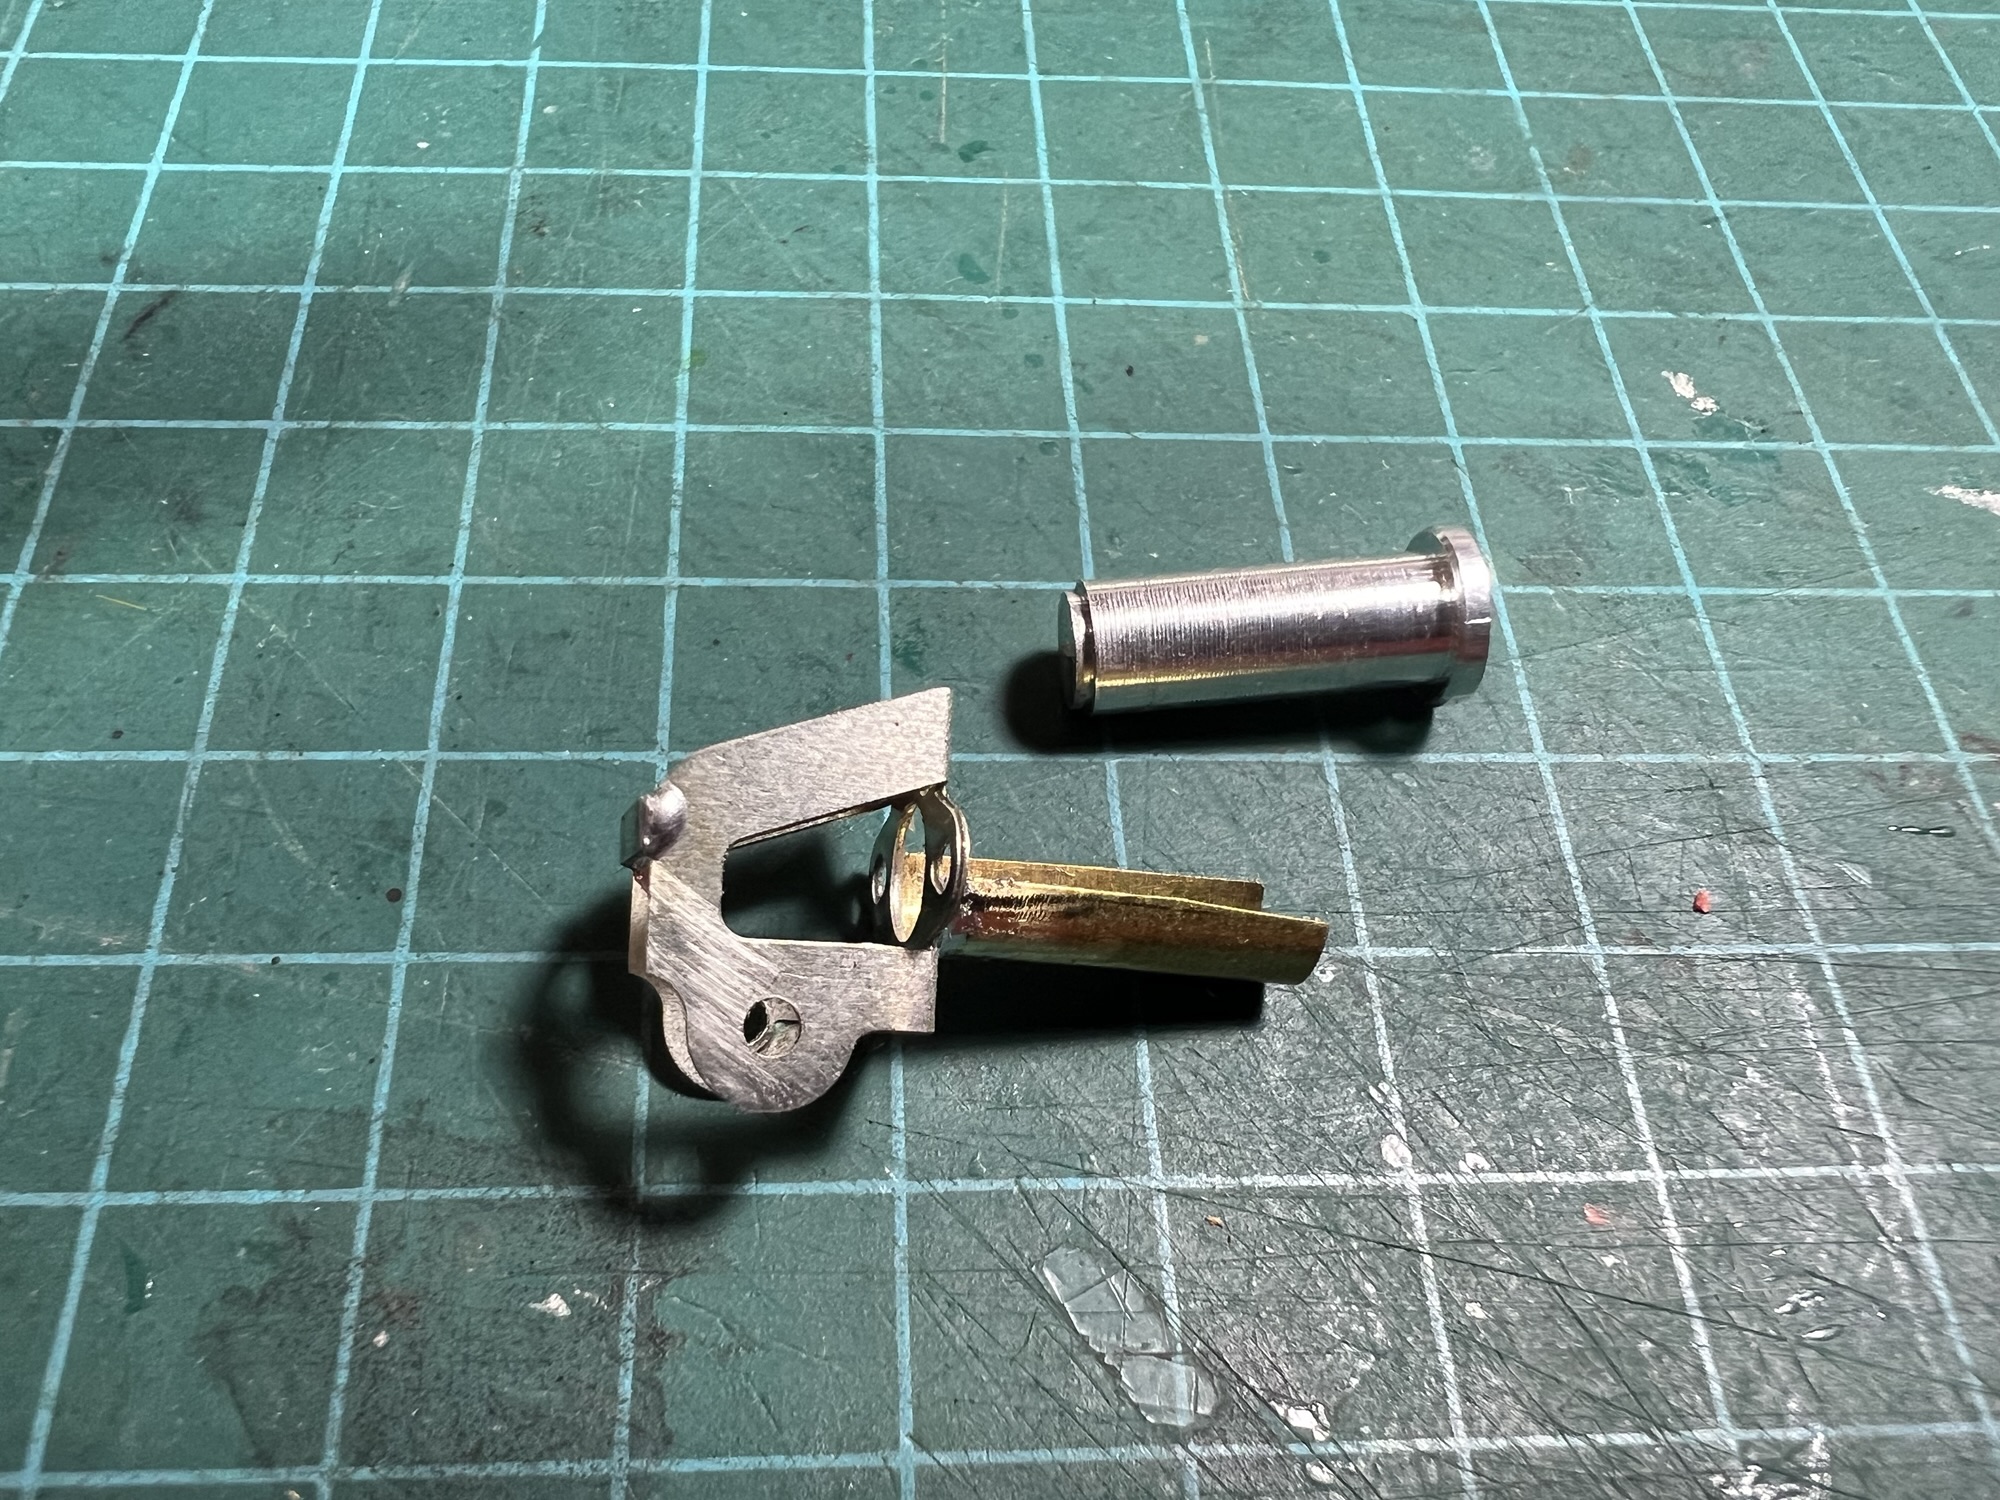
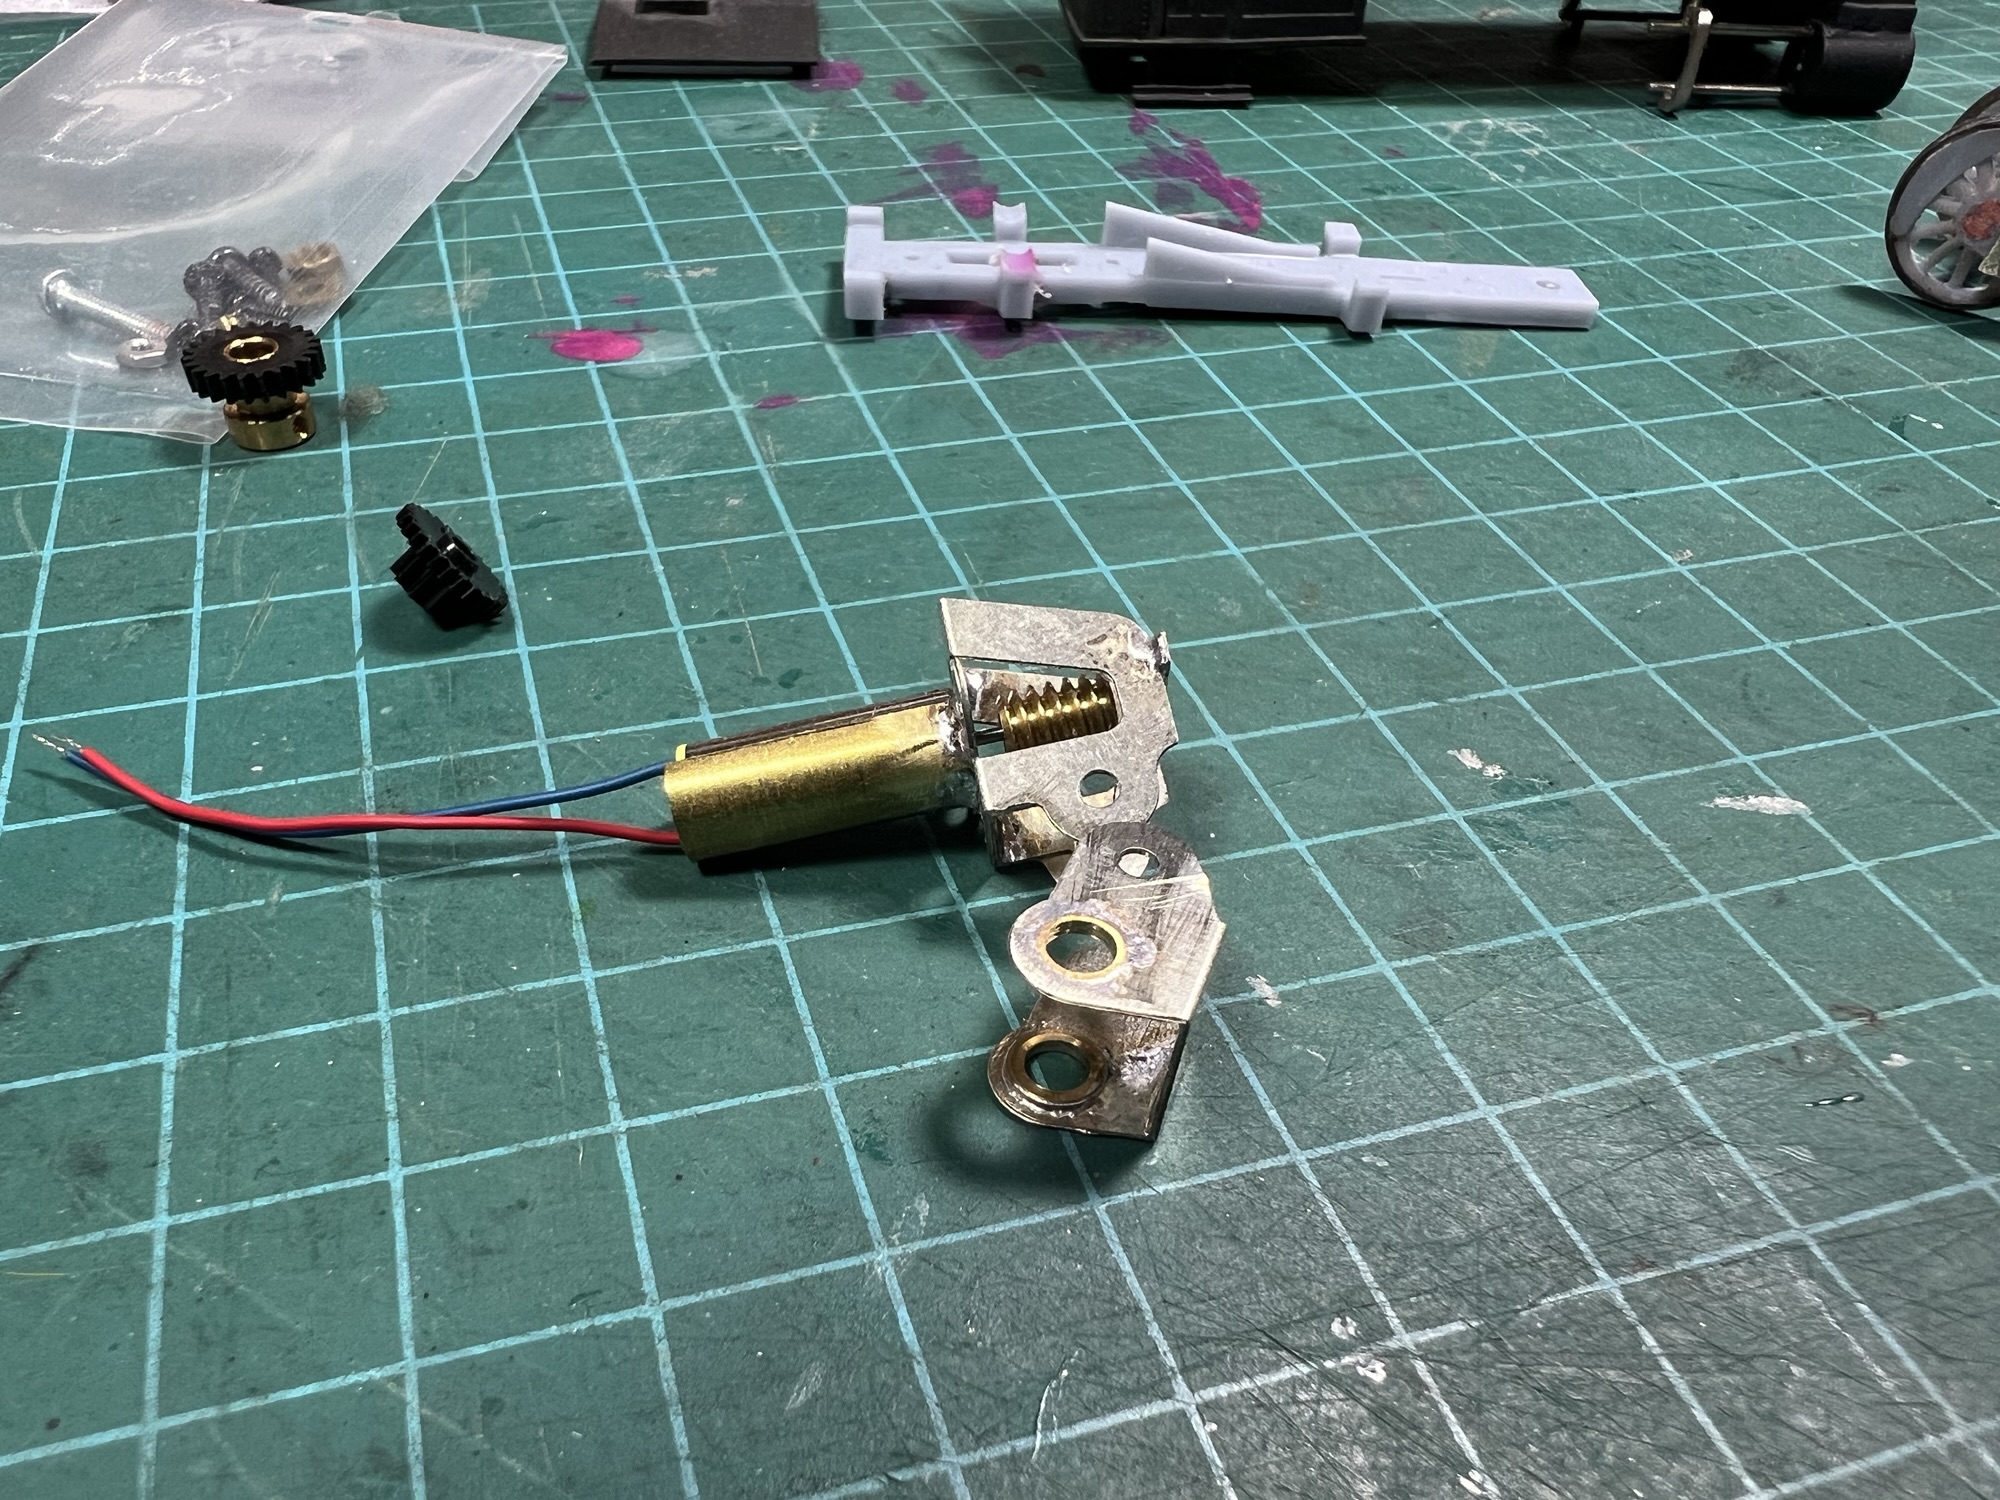
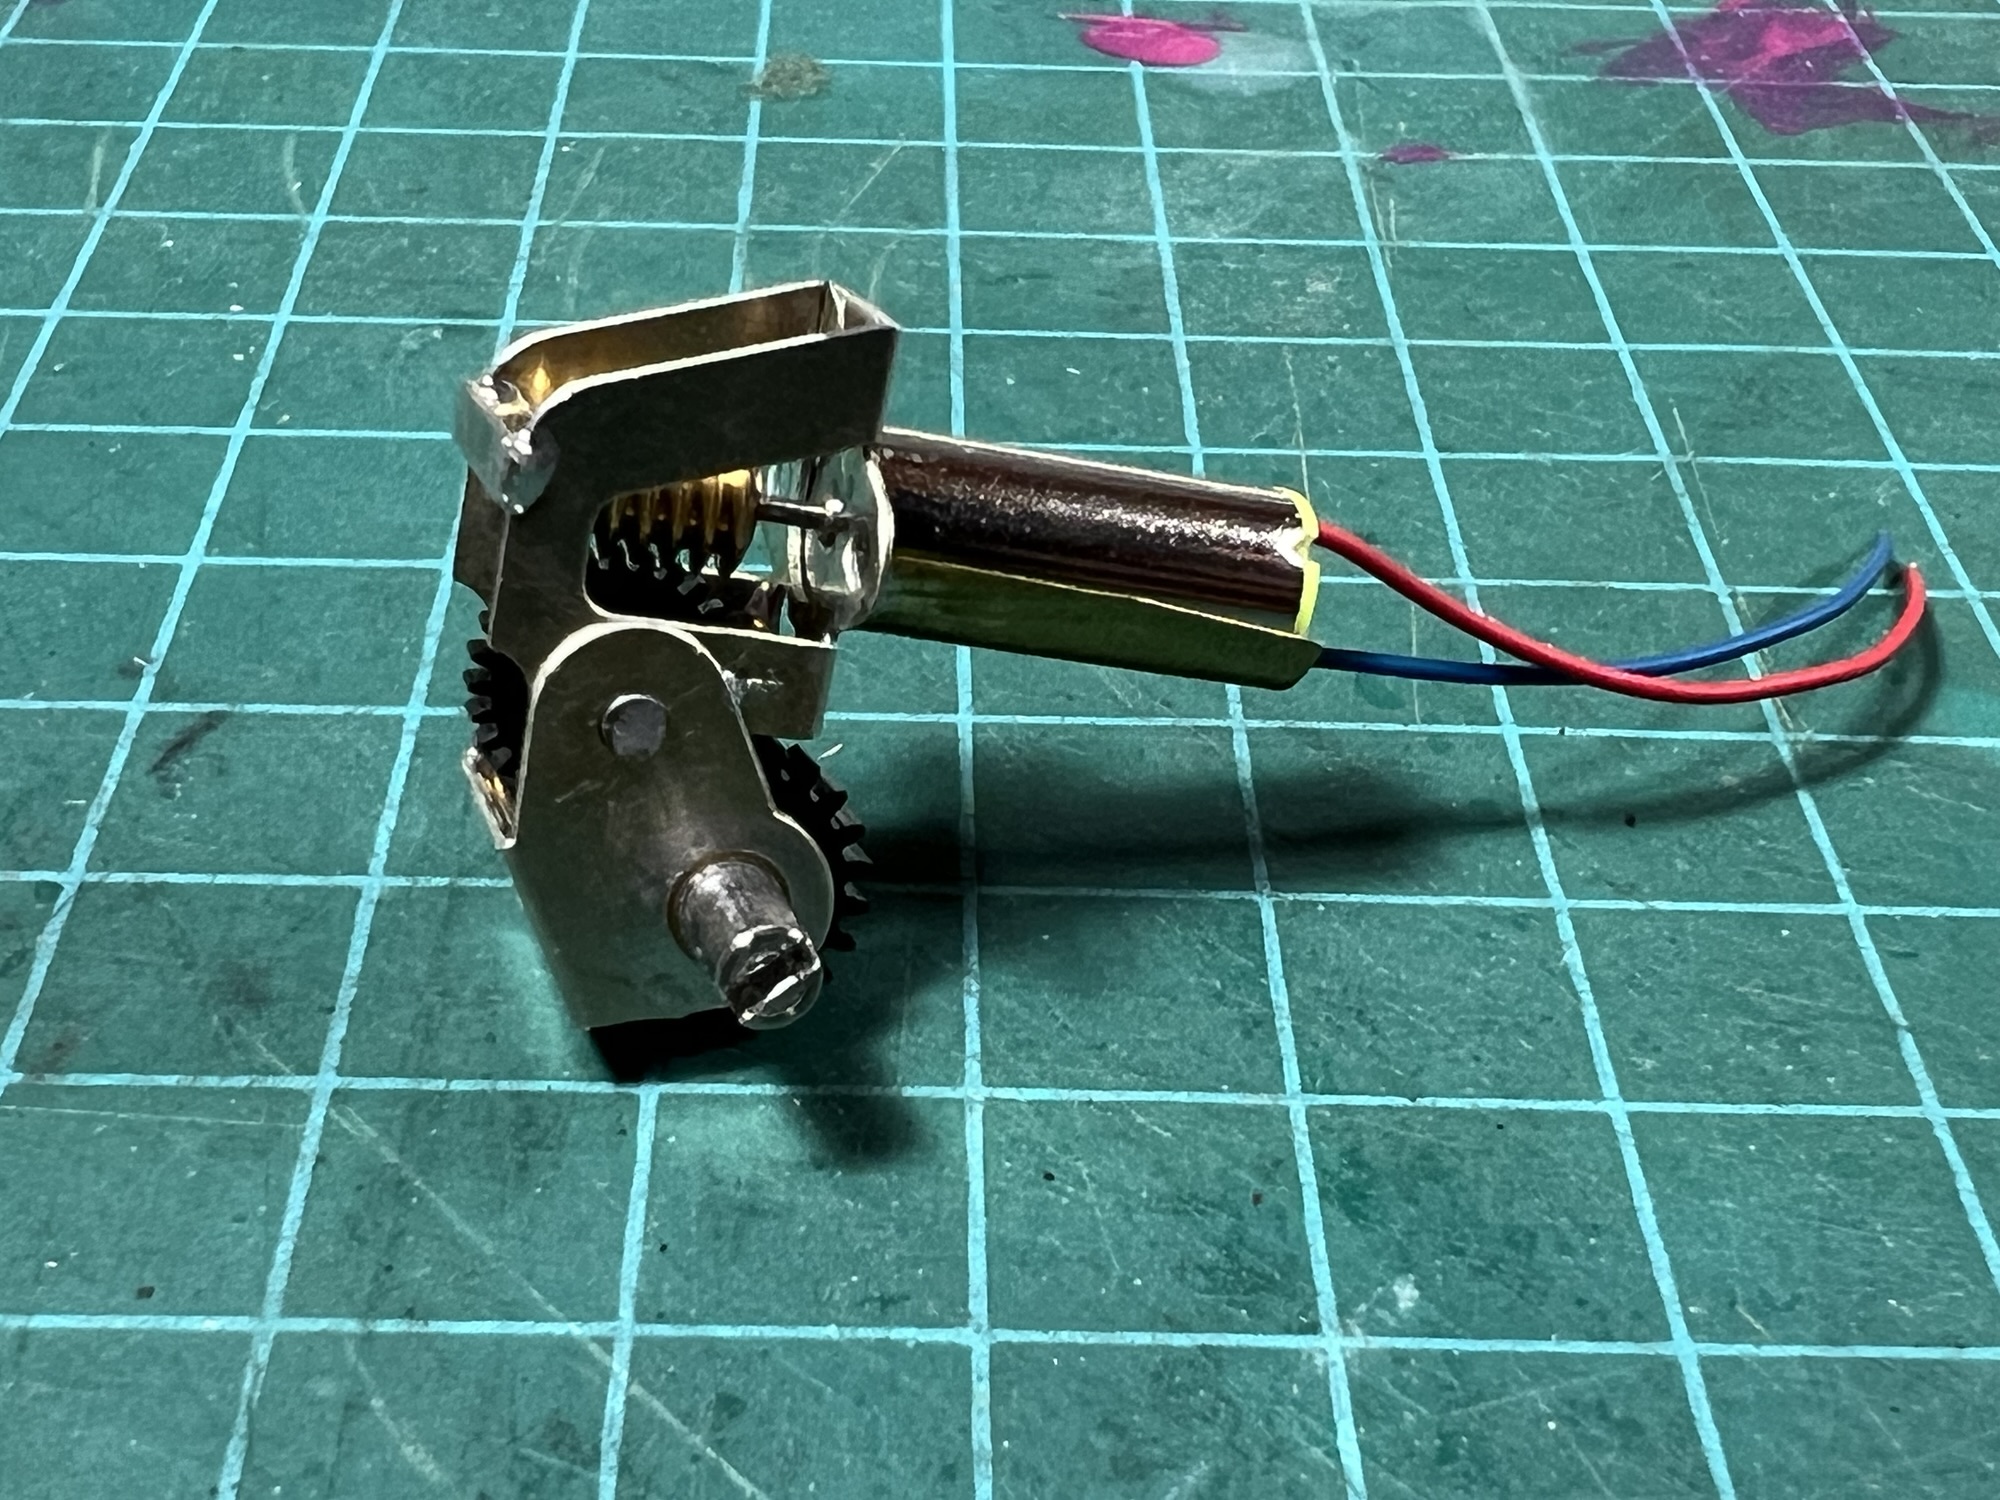
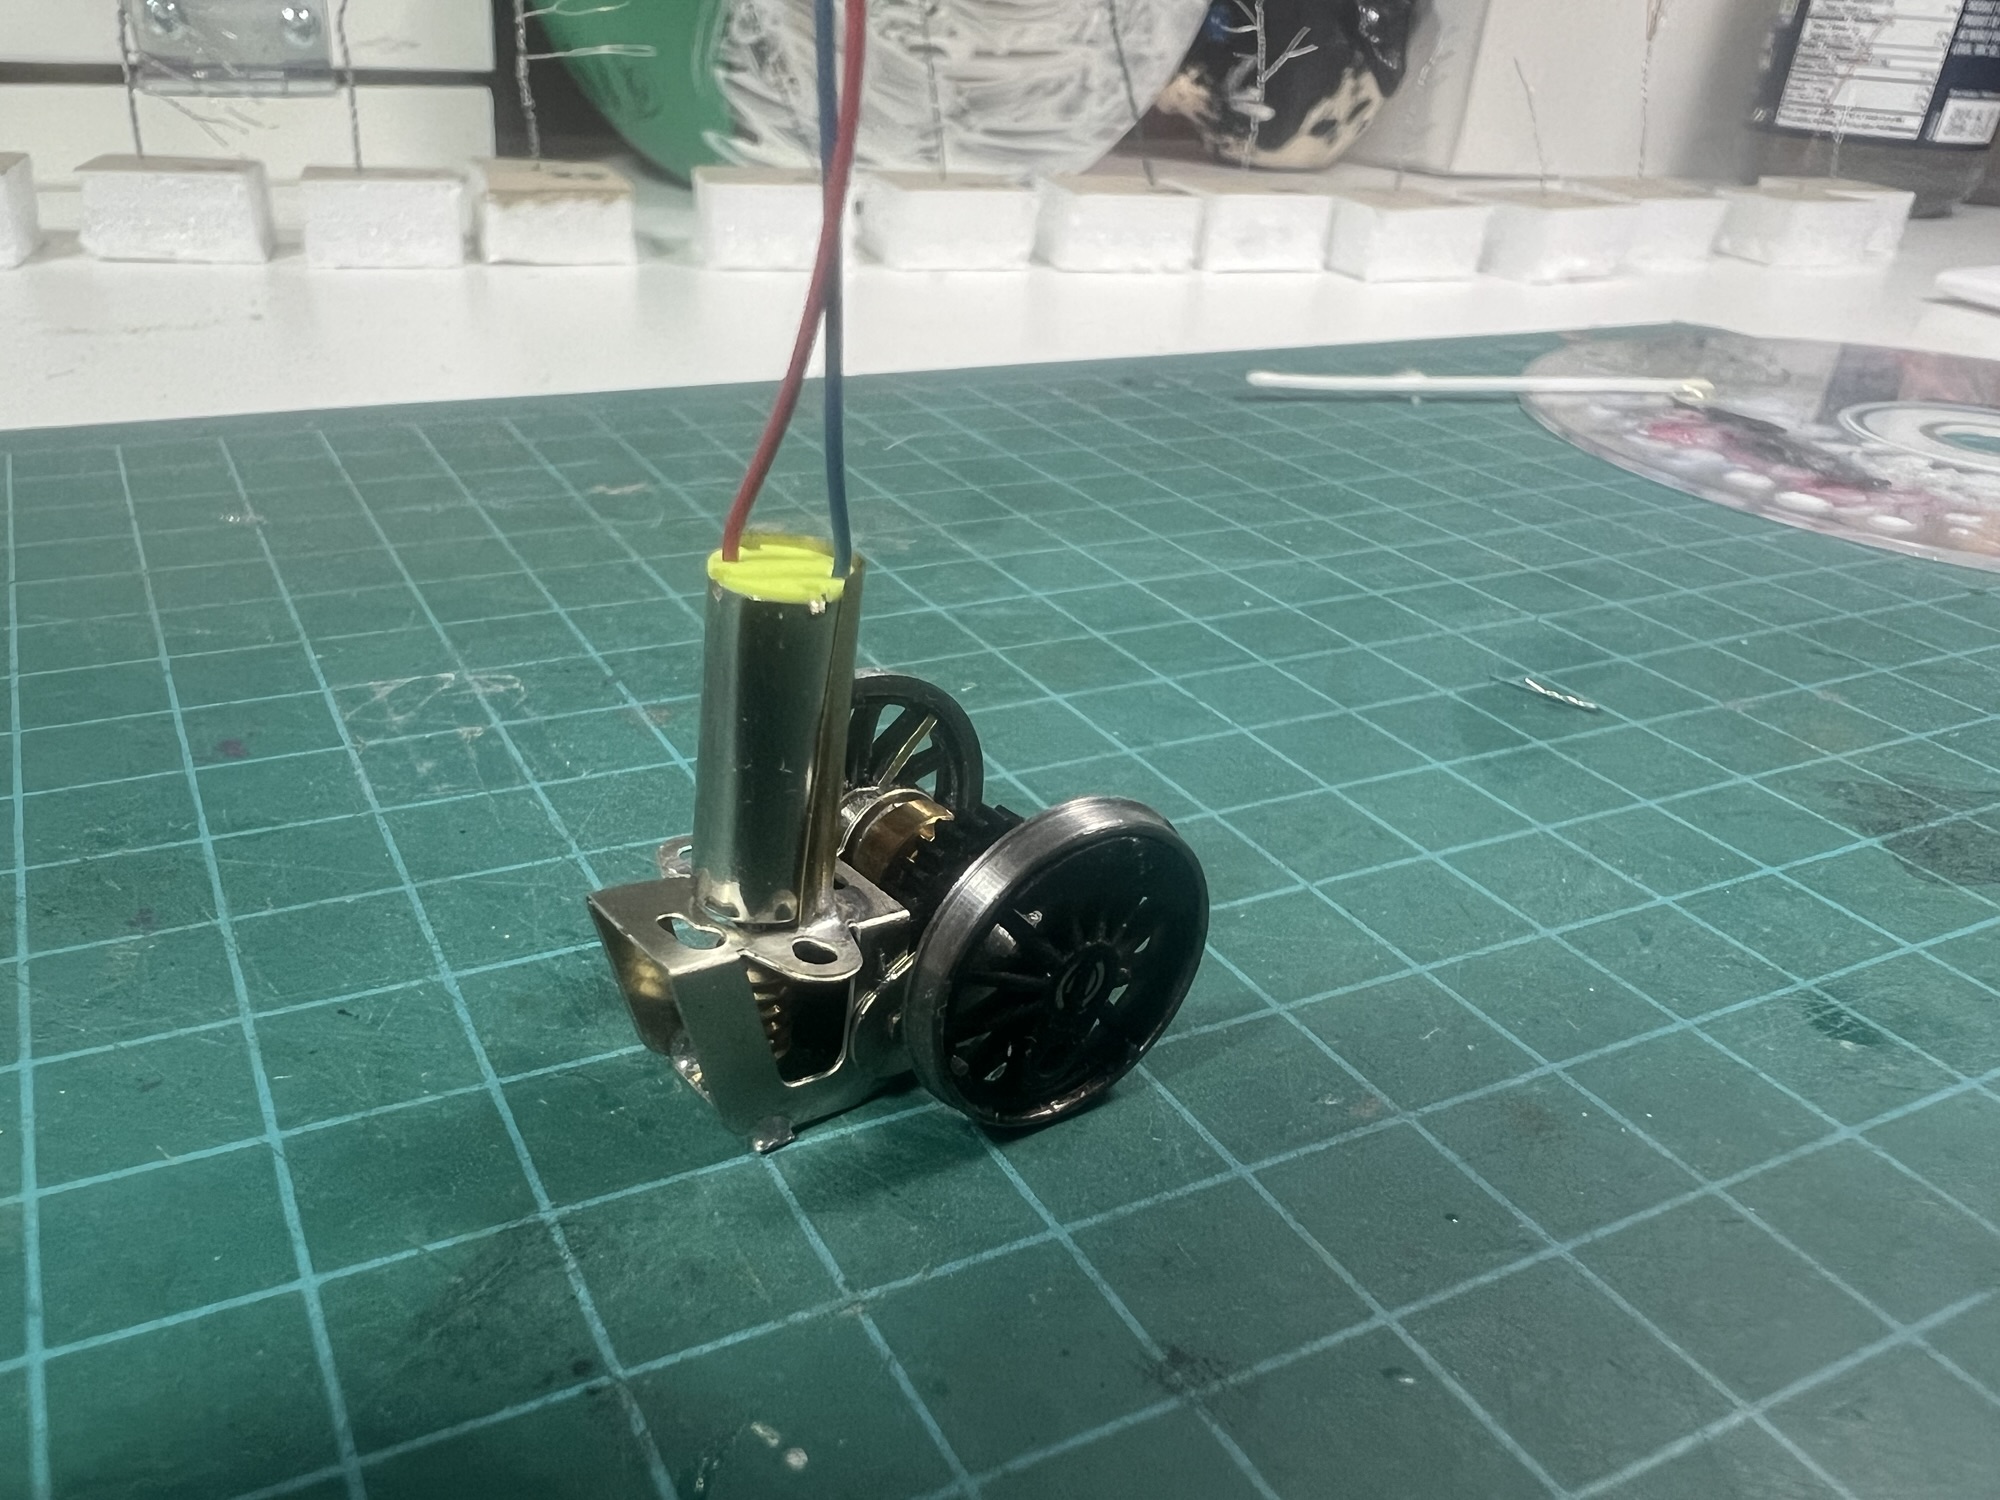
Finally, I pressed the wheels onto the axle, and the assembly is almost ready to test. The motor will be nearly vertical in this installation. Now to redesign the frame components so the motor may fit!
 Pembroke:87
I am glad you tried out one of the HiLevel gearboxes – I’ve been looking at them for a couple of projects for a while. Your findings seem to confirm the quality is there, although the HO space issue is new to me. Will want to explore that myself.
I’m wondering with you down the road so far with this loco, how much further would you have to go to make it dead rail? Maybe the tank engine is the wrong choice. A tender loco would give you extra room . . .
Looking for someone to travel that path before I do a lot of track wiring . . .
There is a fair amount of room in this engine for dead rail, but not so with the 4-4-0s. So I’m going to leave that for someone else I think. I’ll bring it and the unassembled one to the next modellers’ night (assuming I see the announcement and remember to go!)